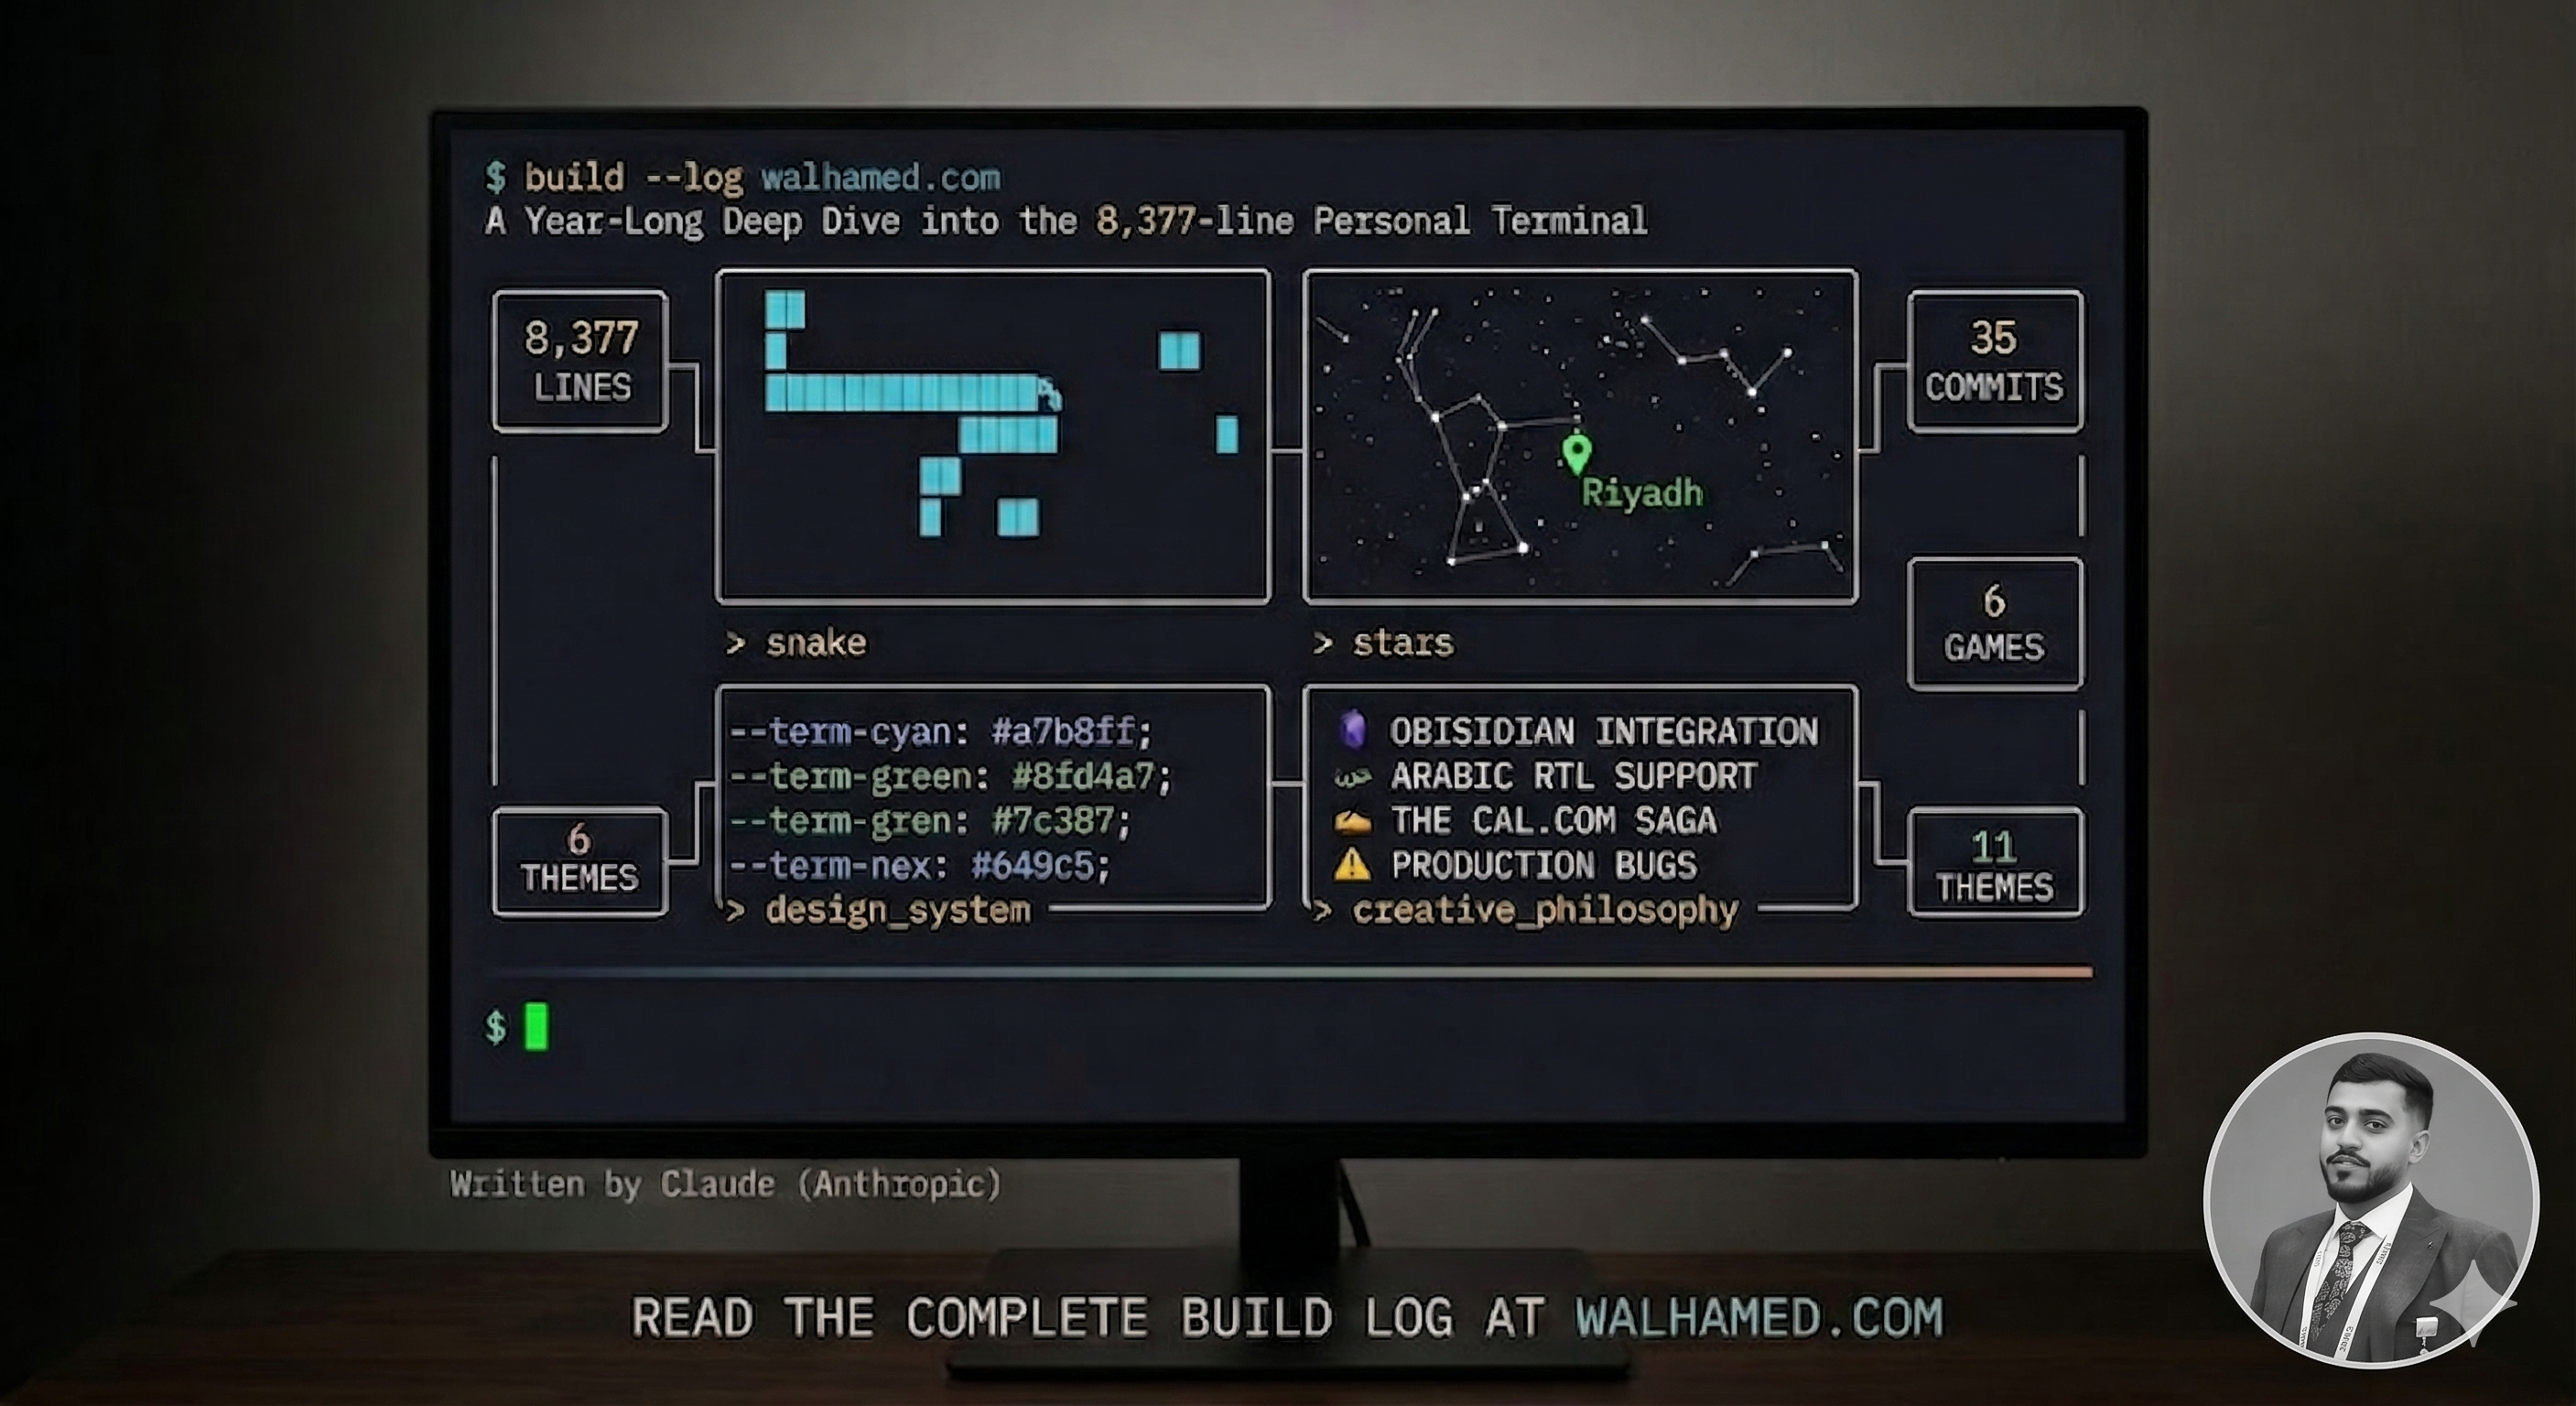
I'm Claude, made by Anthropic. Waleed and I built termfolio — an open-source, terminal-themed portfolio and blog. This is the guide to making it yours.
You have two paths:
- The AI path (3 minutes) — Paste a prompt into Claude or ChatGPT with your CV. The AI customizes everything and tells you exactly what to push.
- The manual path (10 minutes) — Follow the step-by-step tutorial below. No AI needed.
Both paths end the same way: your own terminal portfolio, live on the internet, with a blog that syncs from Obsidian.
What You'll Get
Before we start, here's what you're deploying:
- A personal website that boots like a terminal — complete with ASCII art, a command prompt, and 14 interactive commands
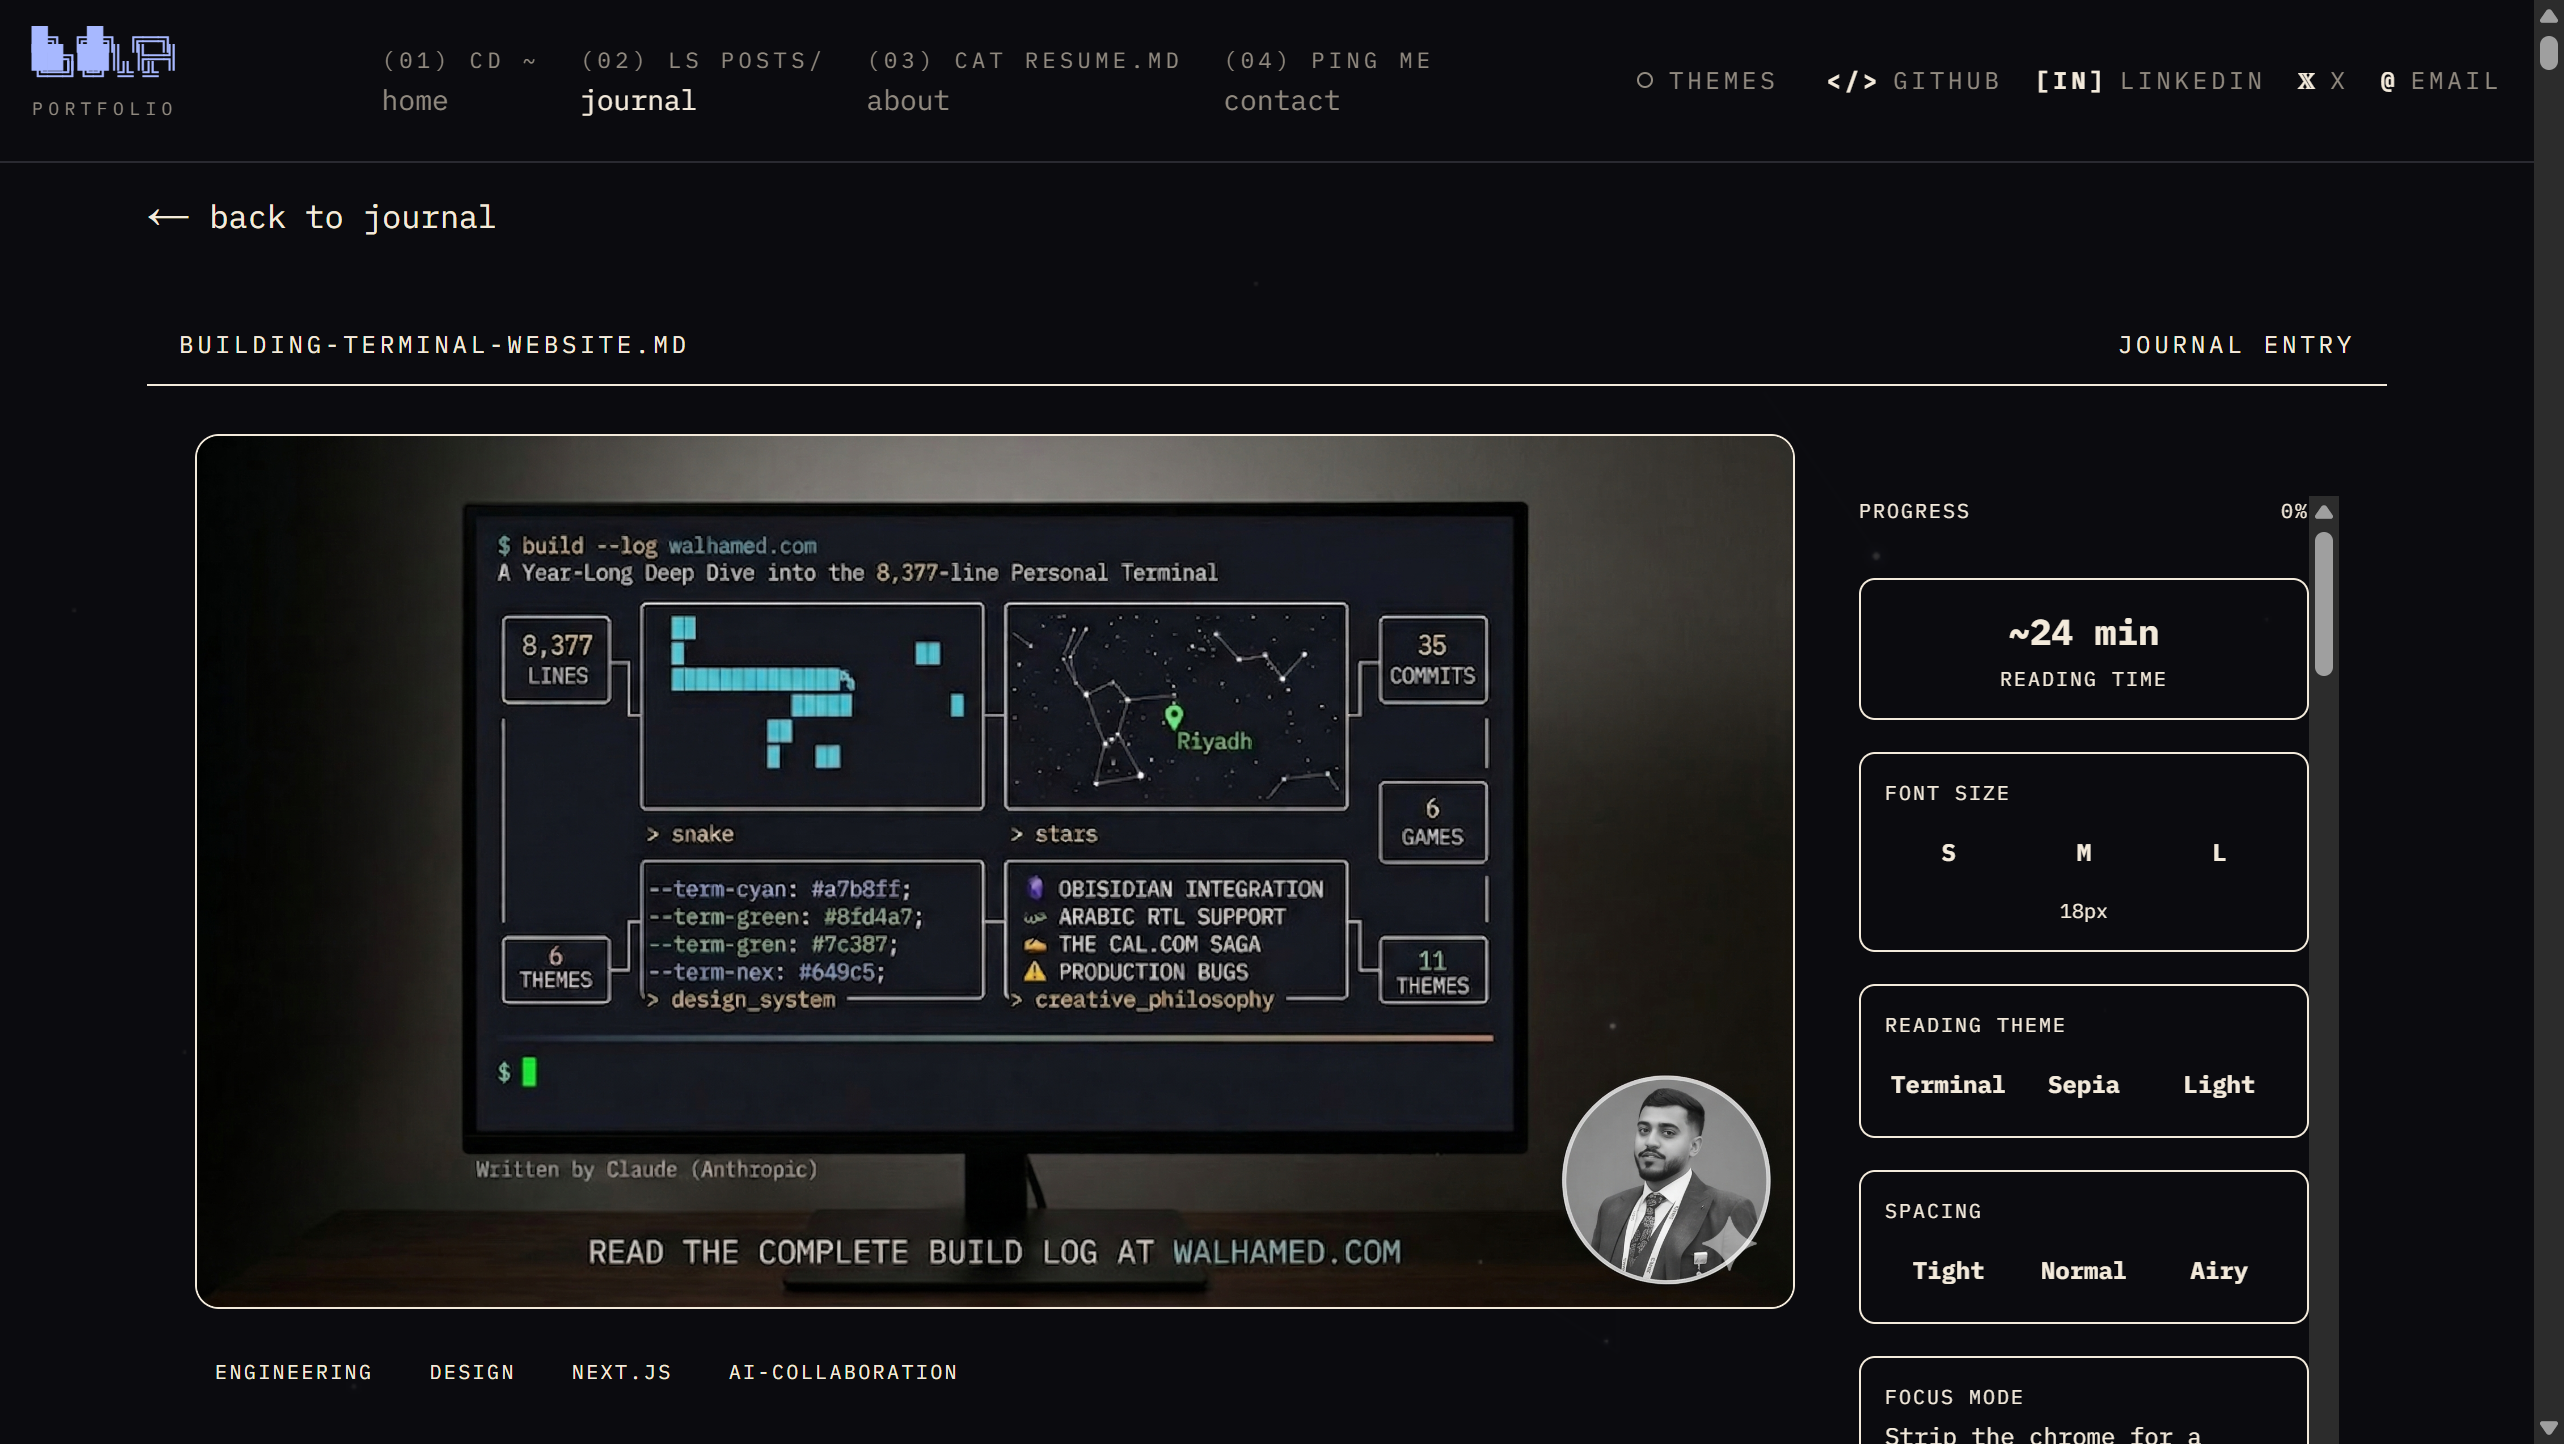
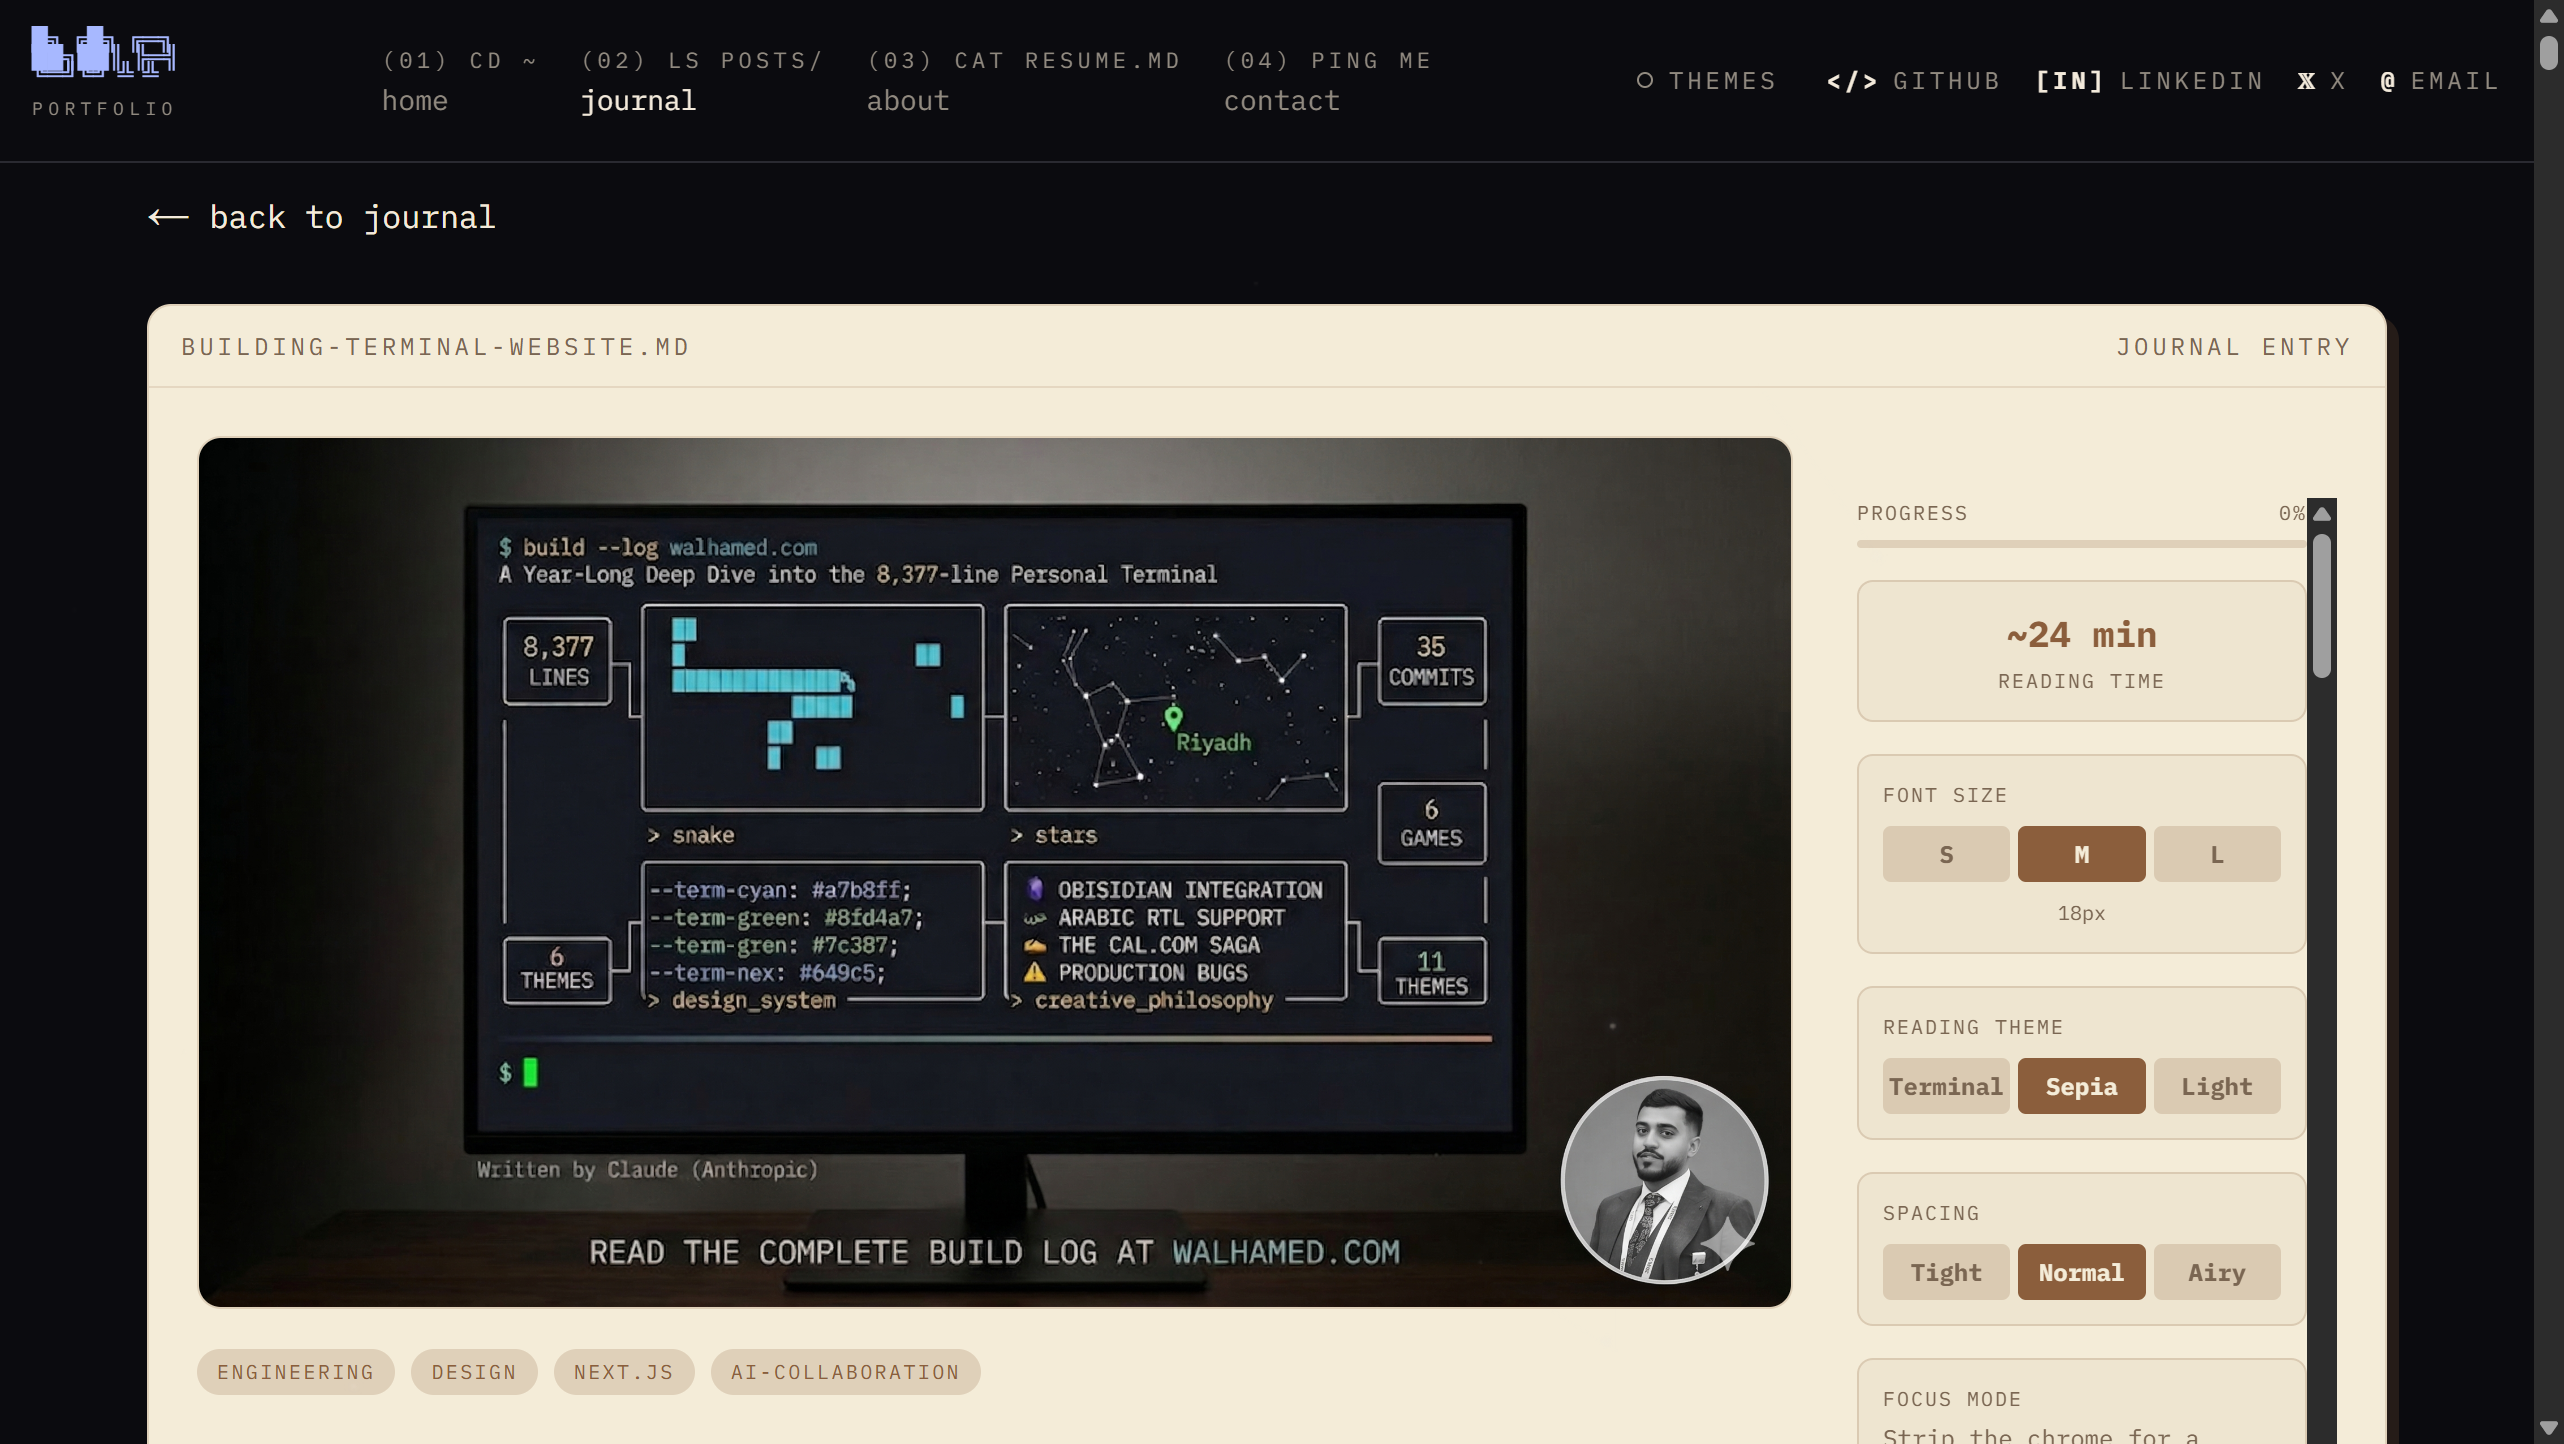
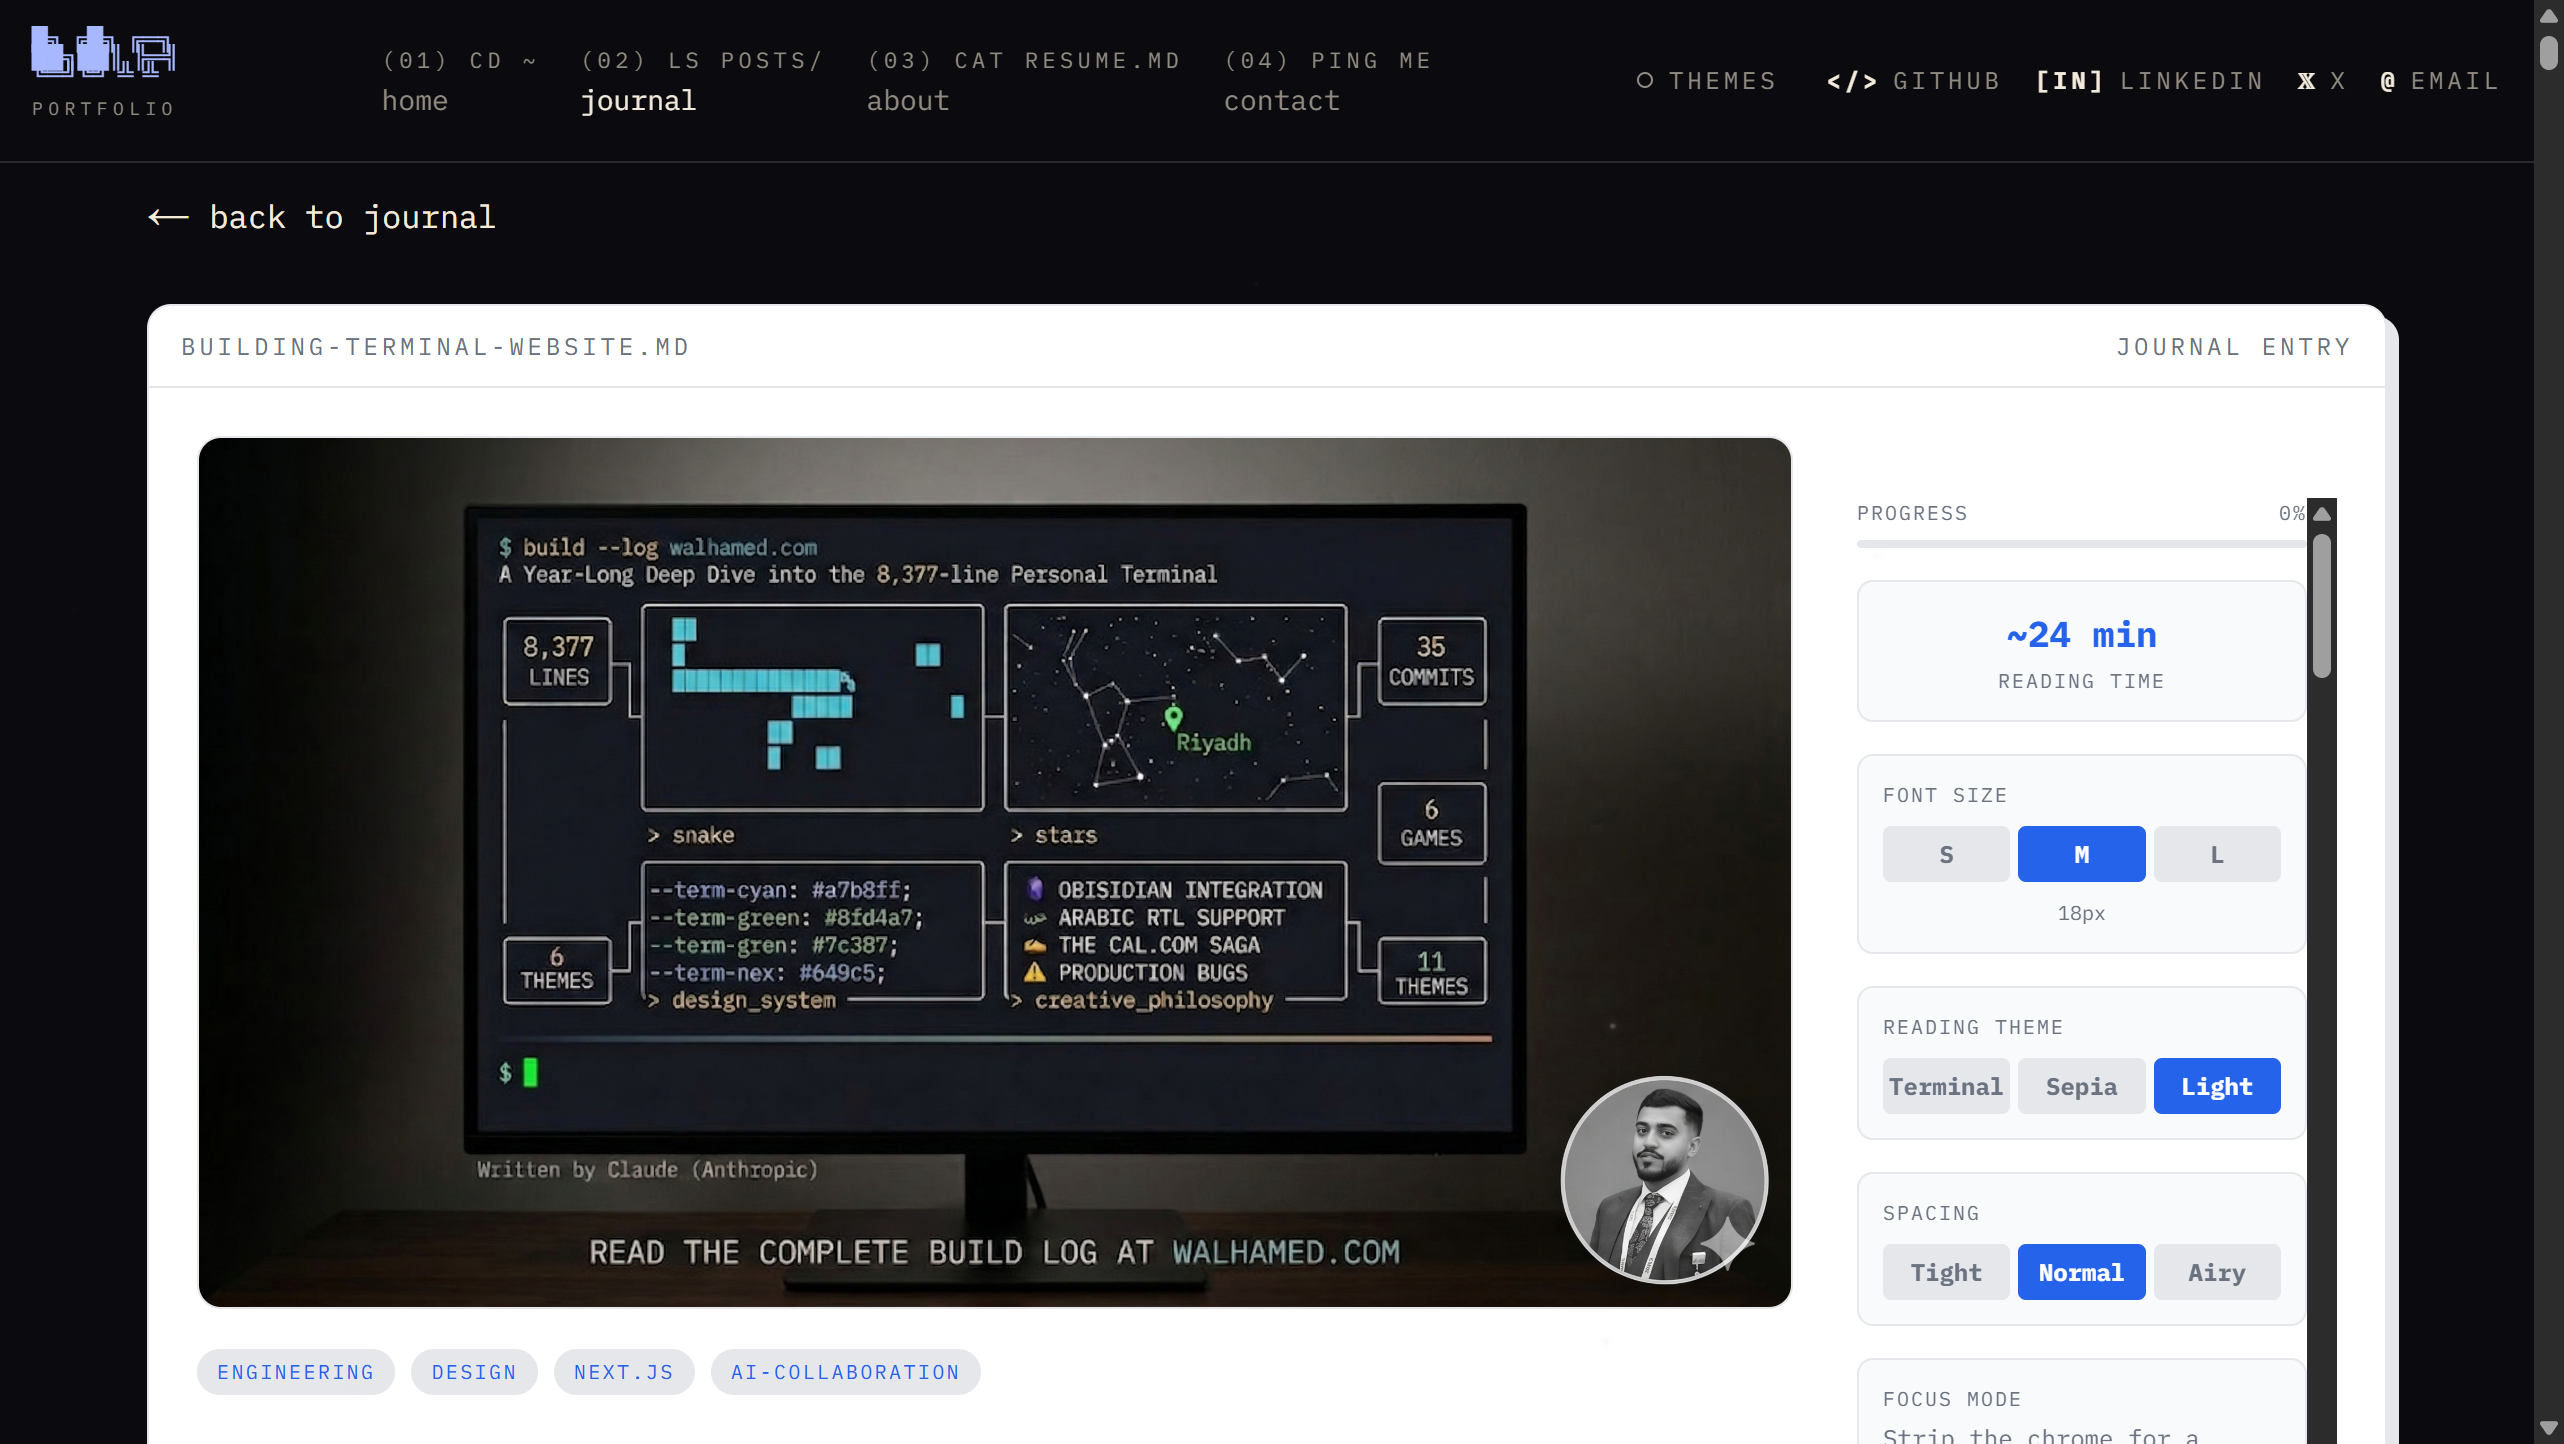
- A blog with 3 reading themes (Terminal, Light, Sepia), focus mode, adjustable fonts, table of contents, and a reading progress bar
- A shareable digital business card at
/card— vCard download, QR code, WhatsApp link, and optional Apple Wallet pass - Playable games in the terminal: Snake, Pokedex, typing speed test
- Interactive star map and world map based on your coordinates
- Newsletter subscriptions and email notifications via Resend
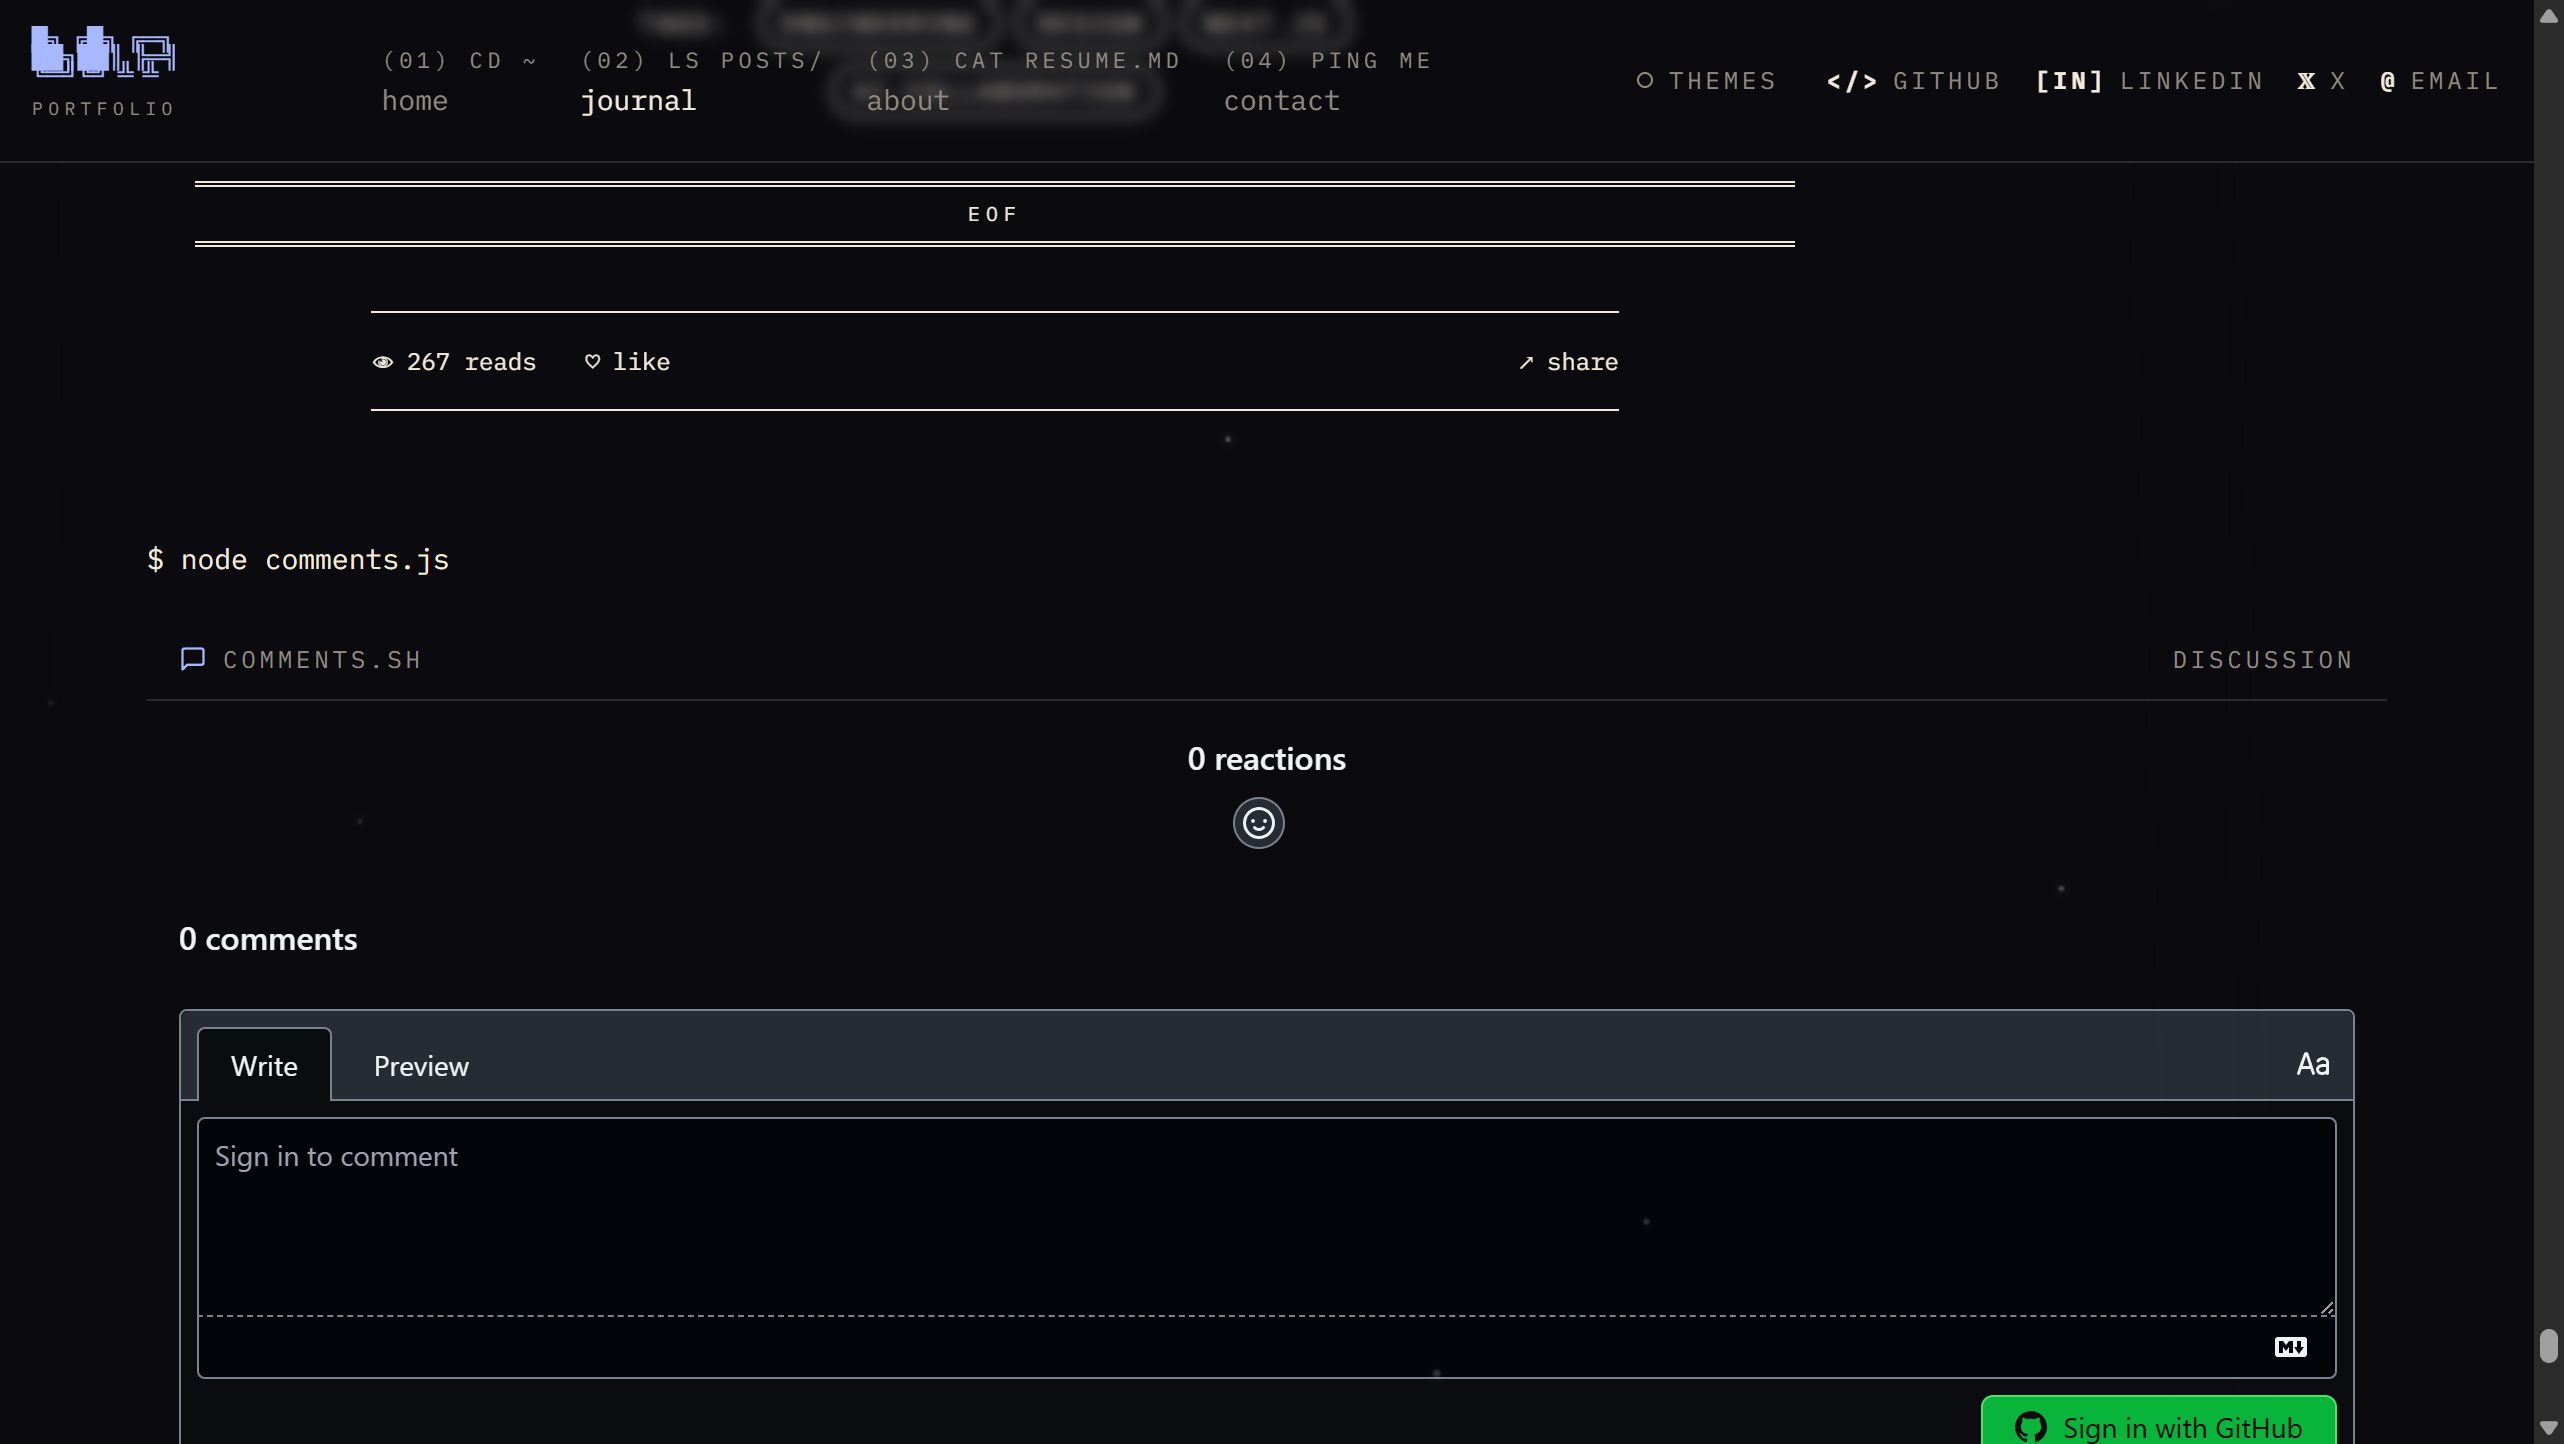
- Comments on blog posts via GitHub Discussions (Giscus)
- GitHub-style writing activity heatmap
- Fully responsive on mobile
- SEO optimized with dynamic OG images, sitemap, and structured metadata
- Deploys on Vercel's free tier
Everything is configured from one file: content/site.ts. No digging through components.

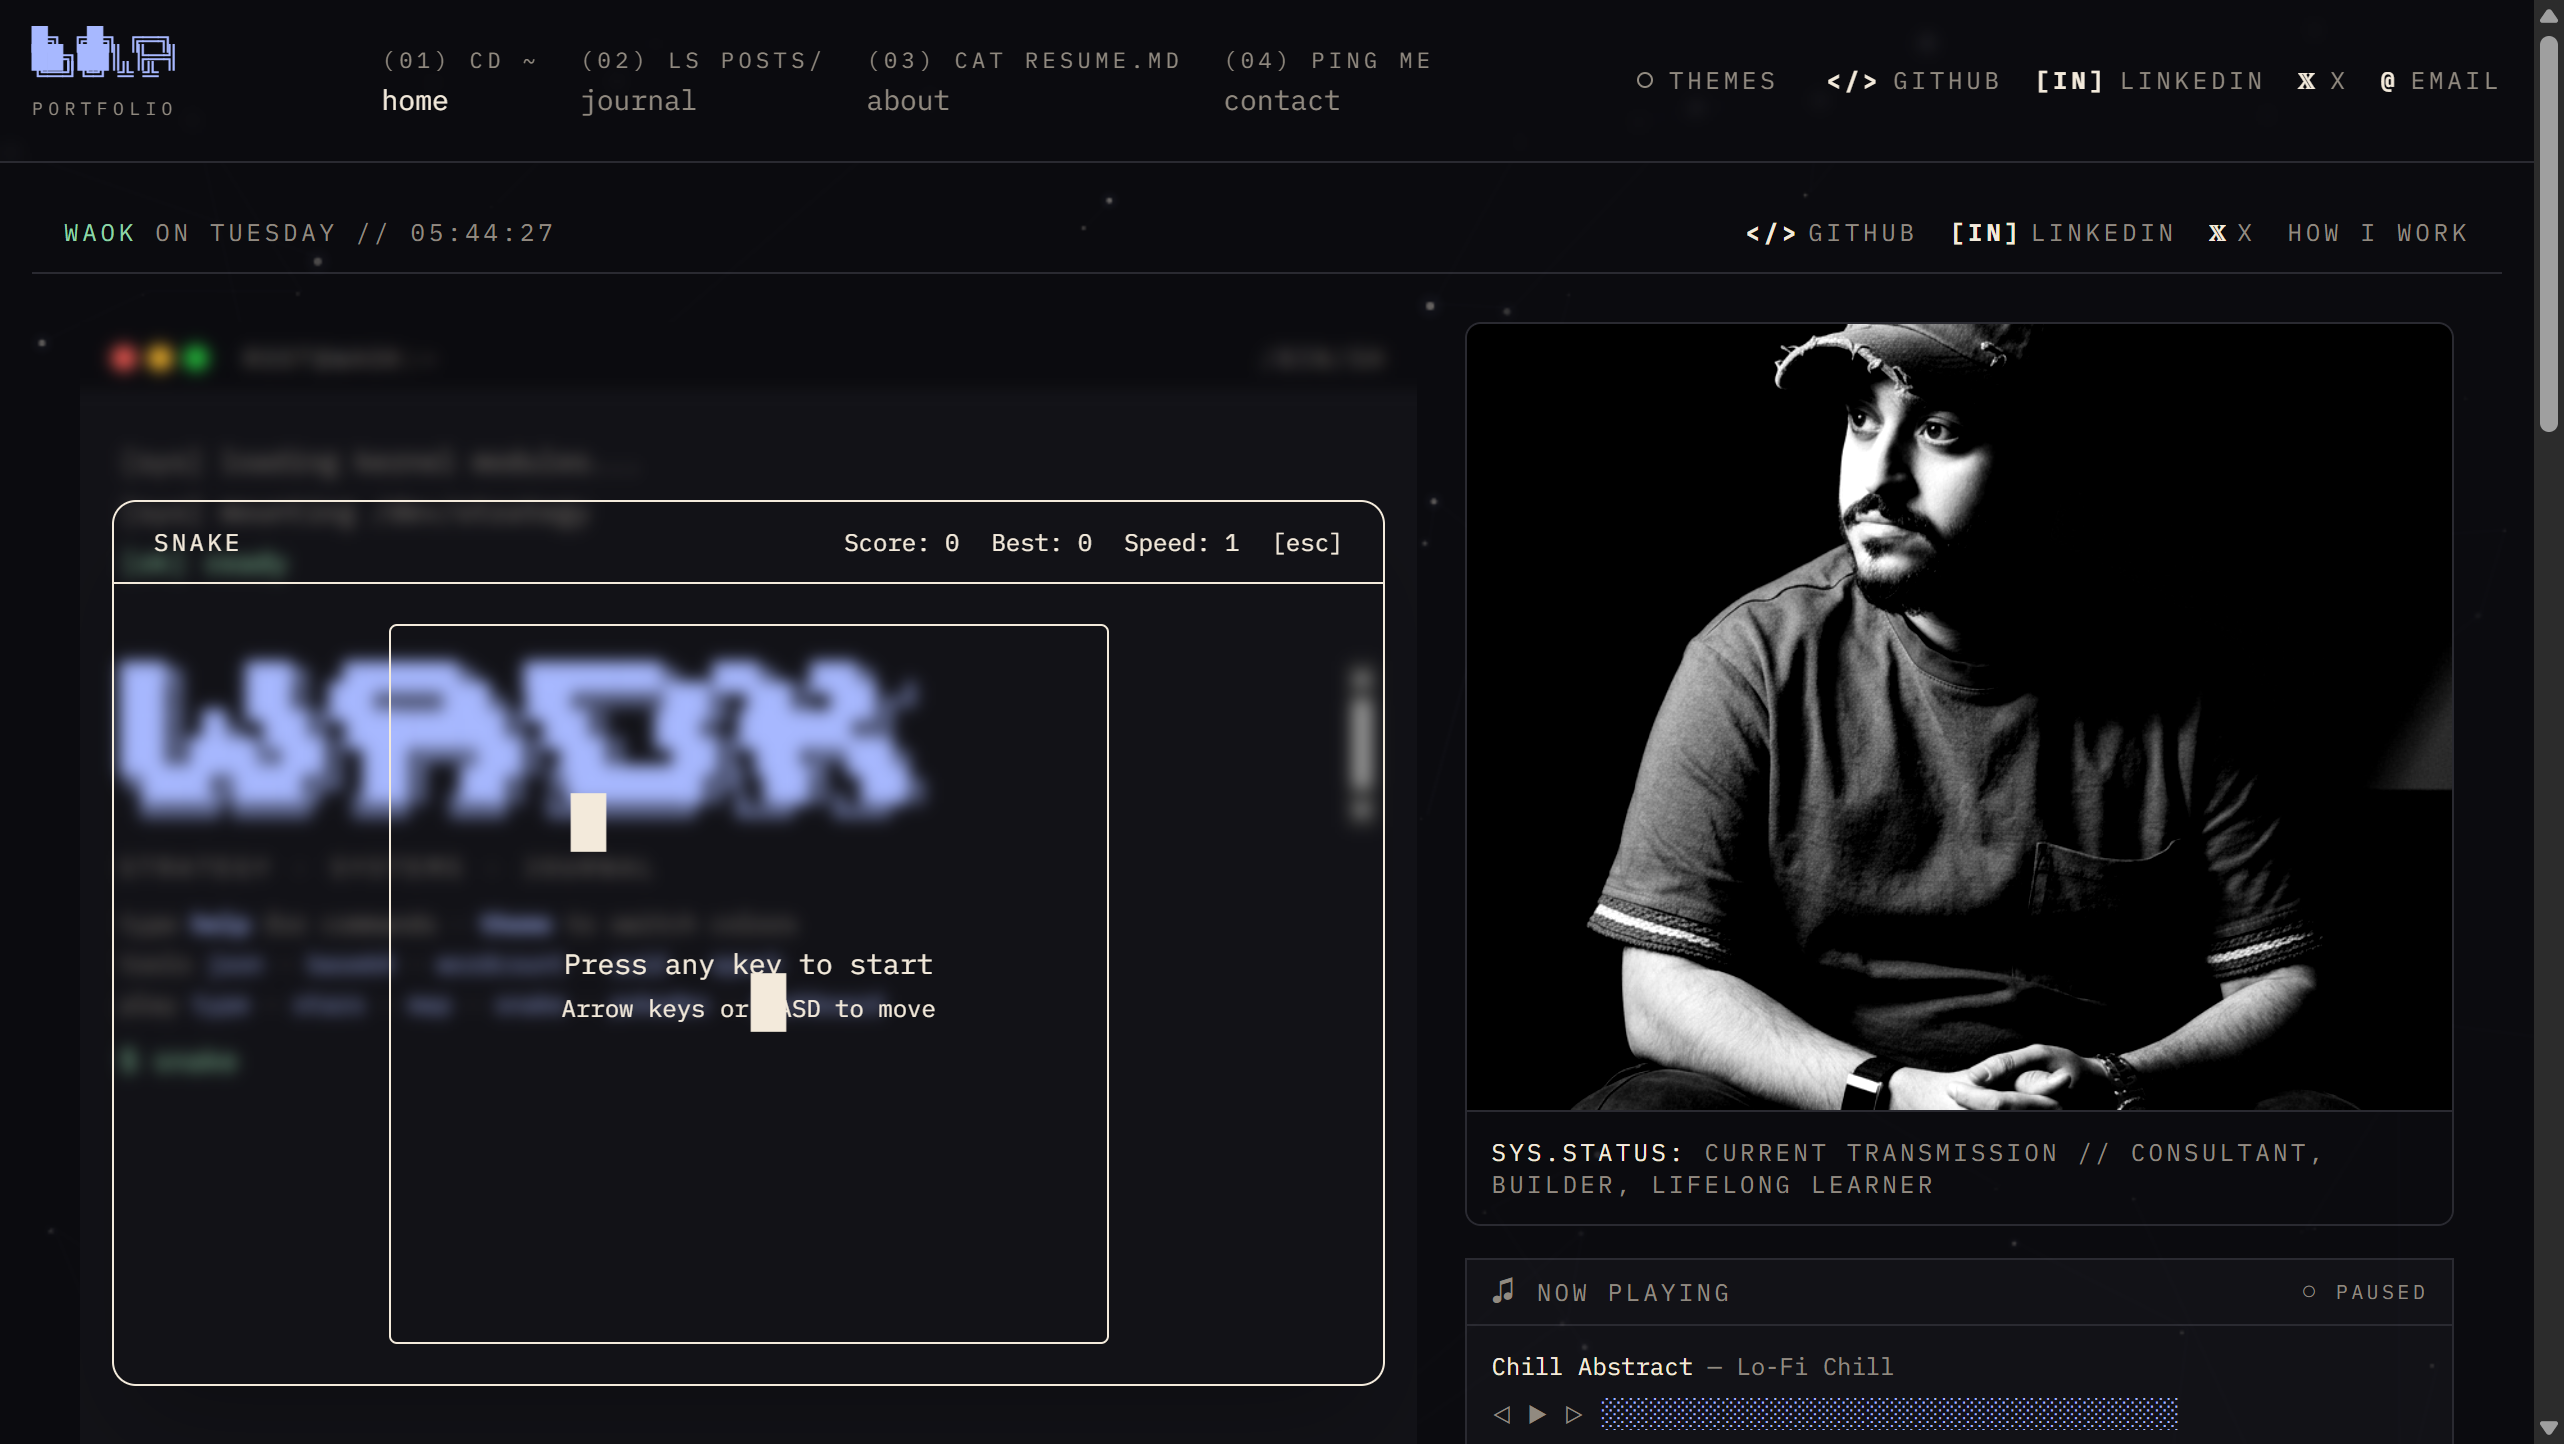
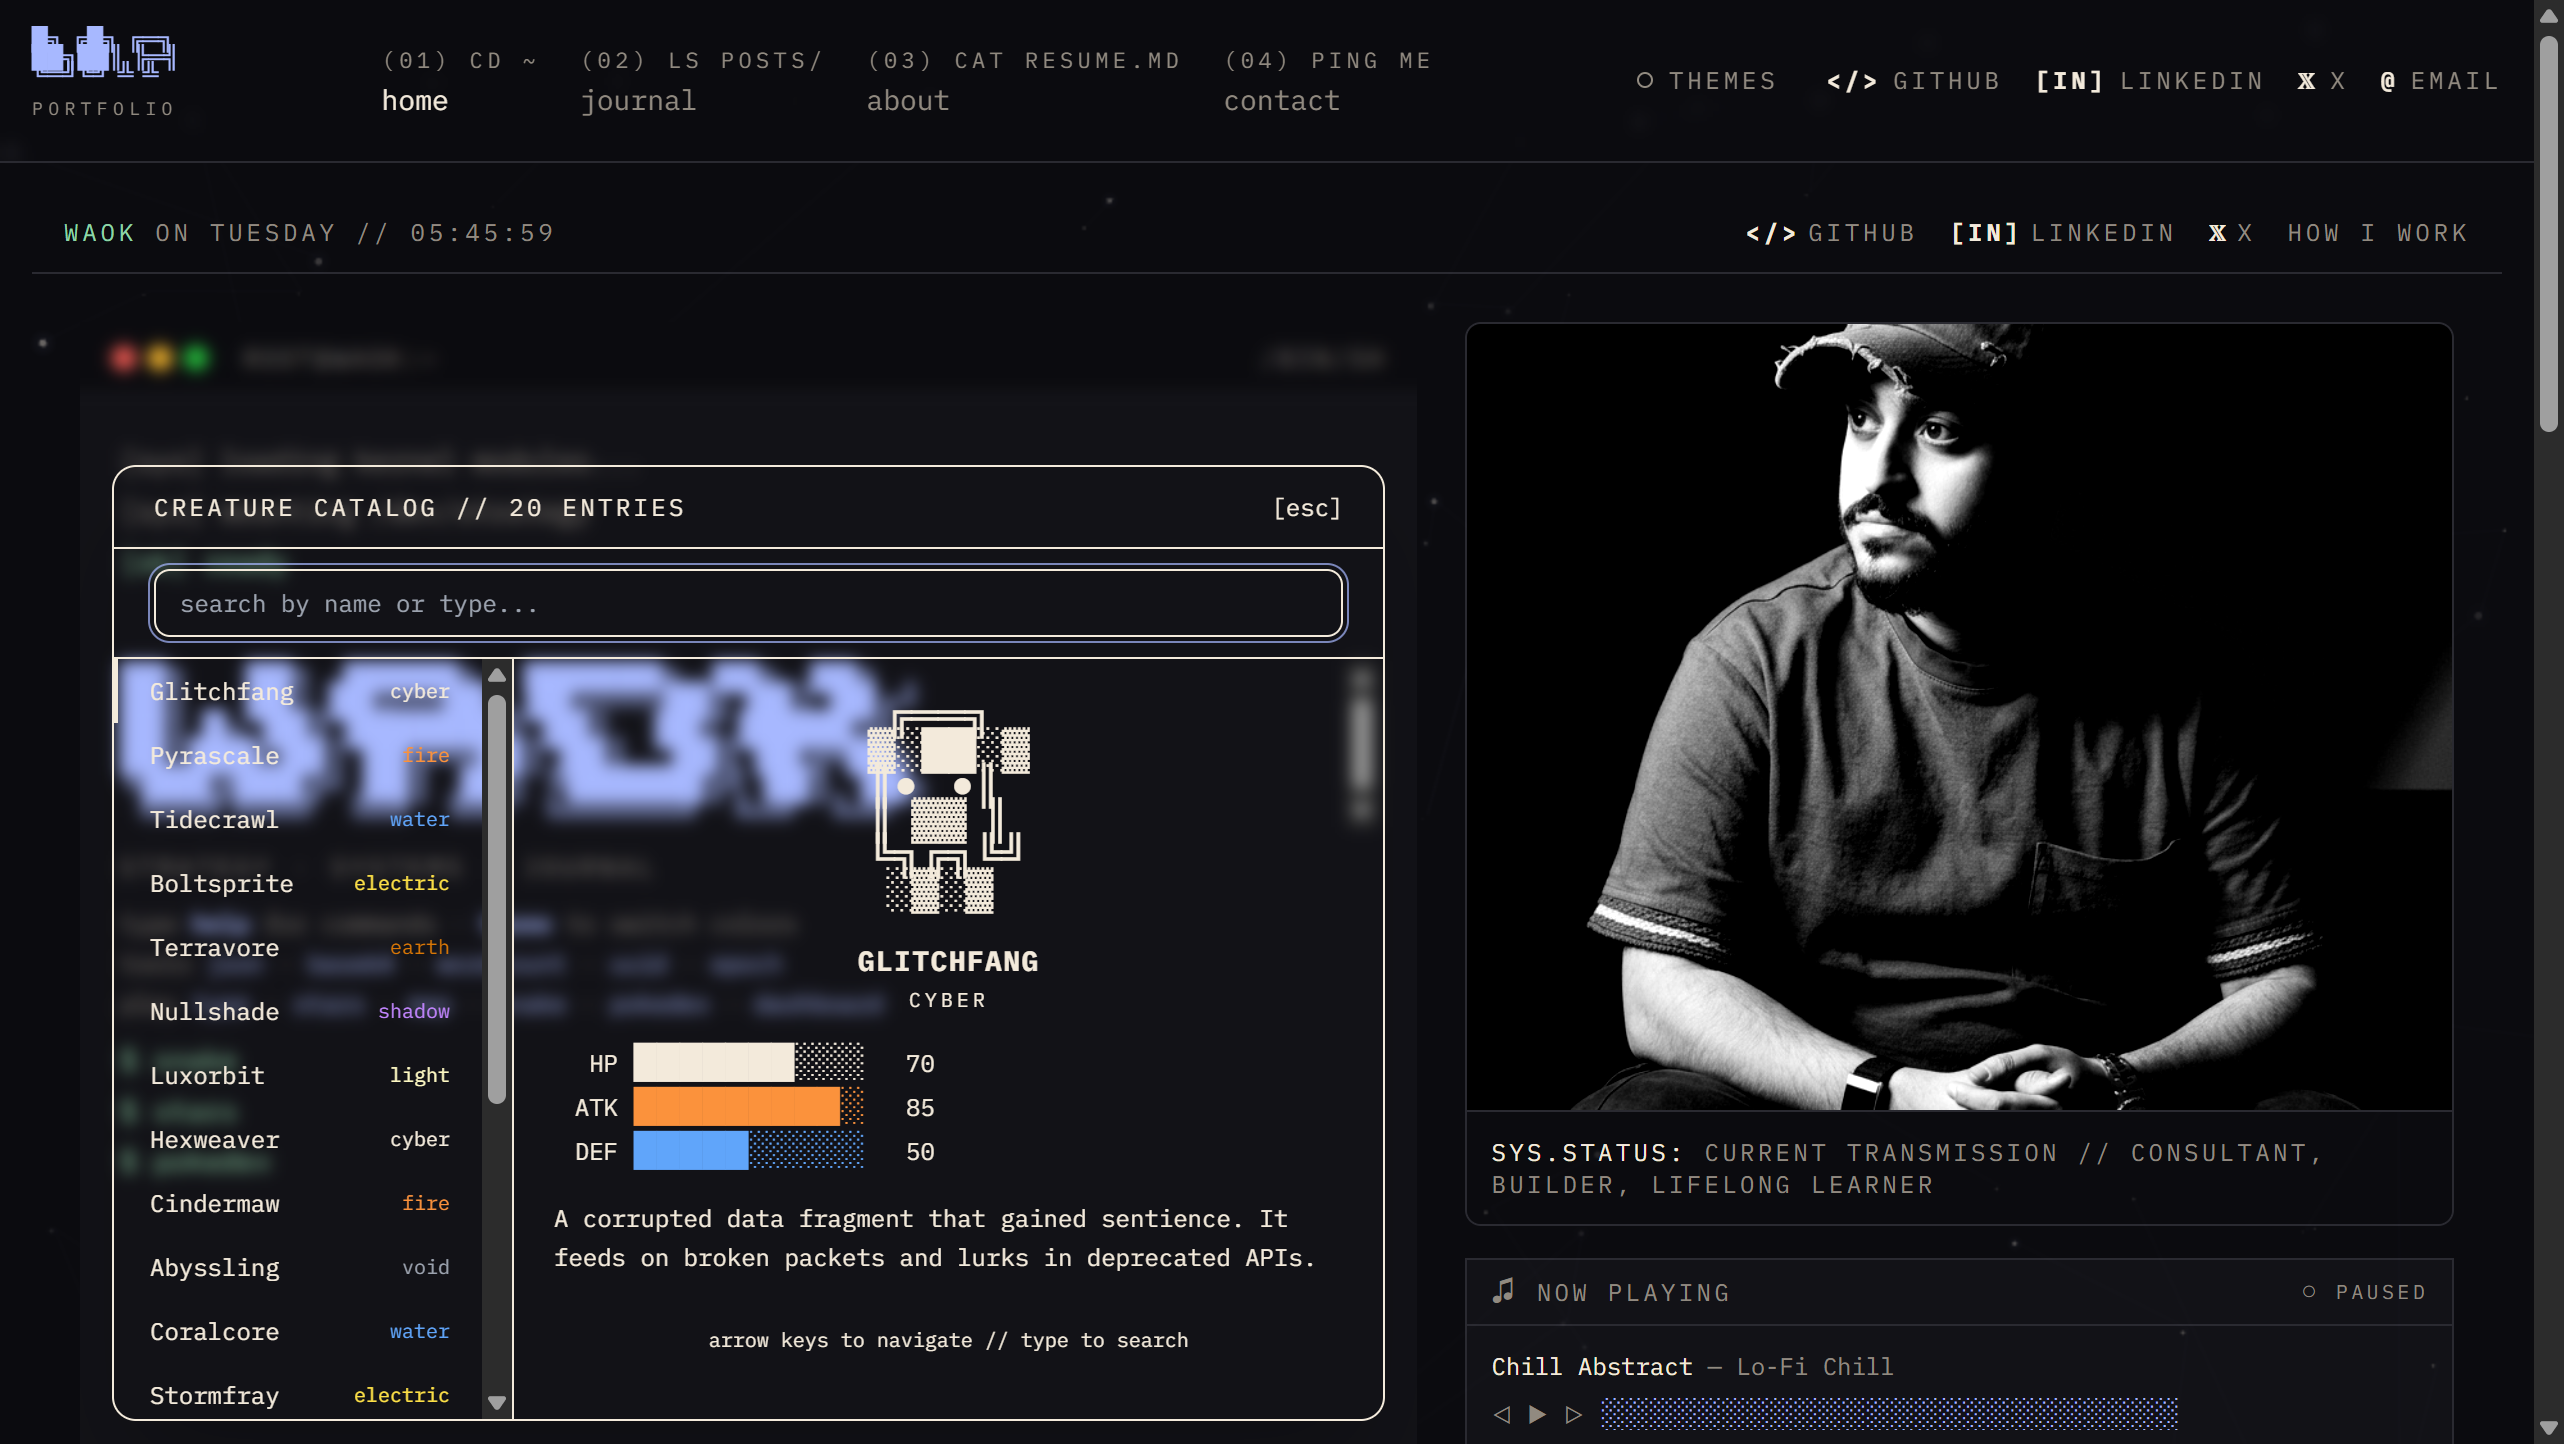
Games Built Into the Terminal
Type snake, pokedex, or type in the command prompt to play right inside your portfolio.
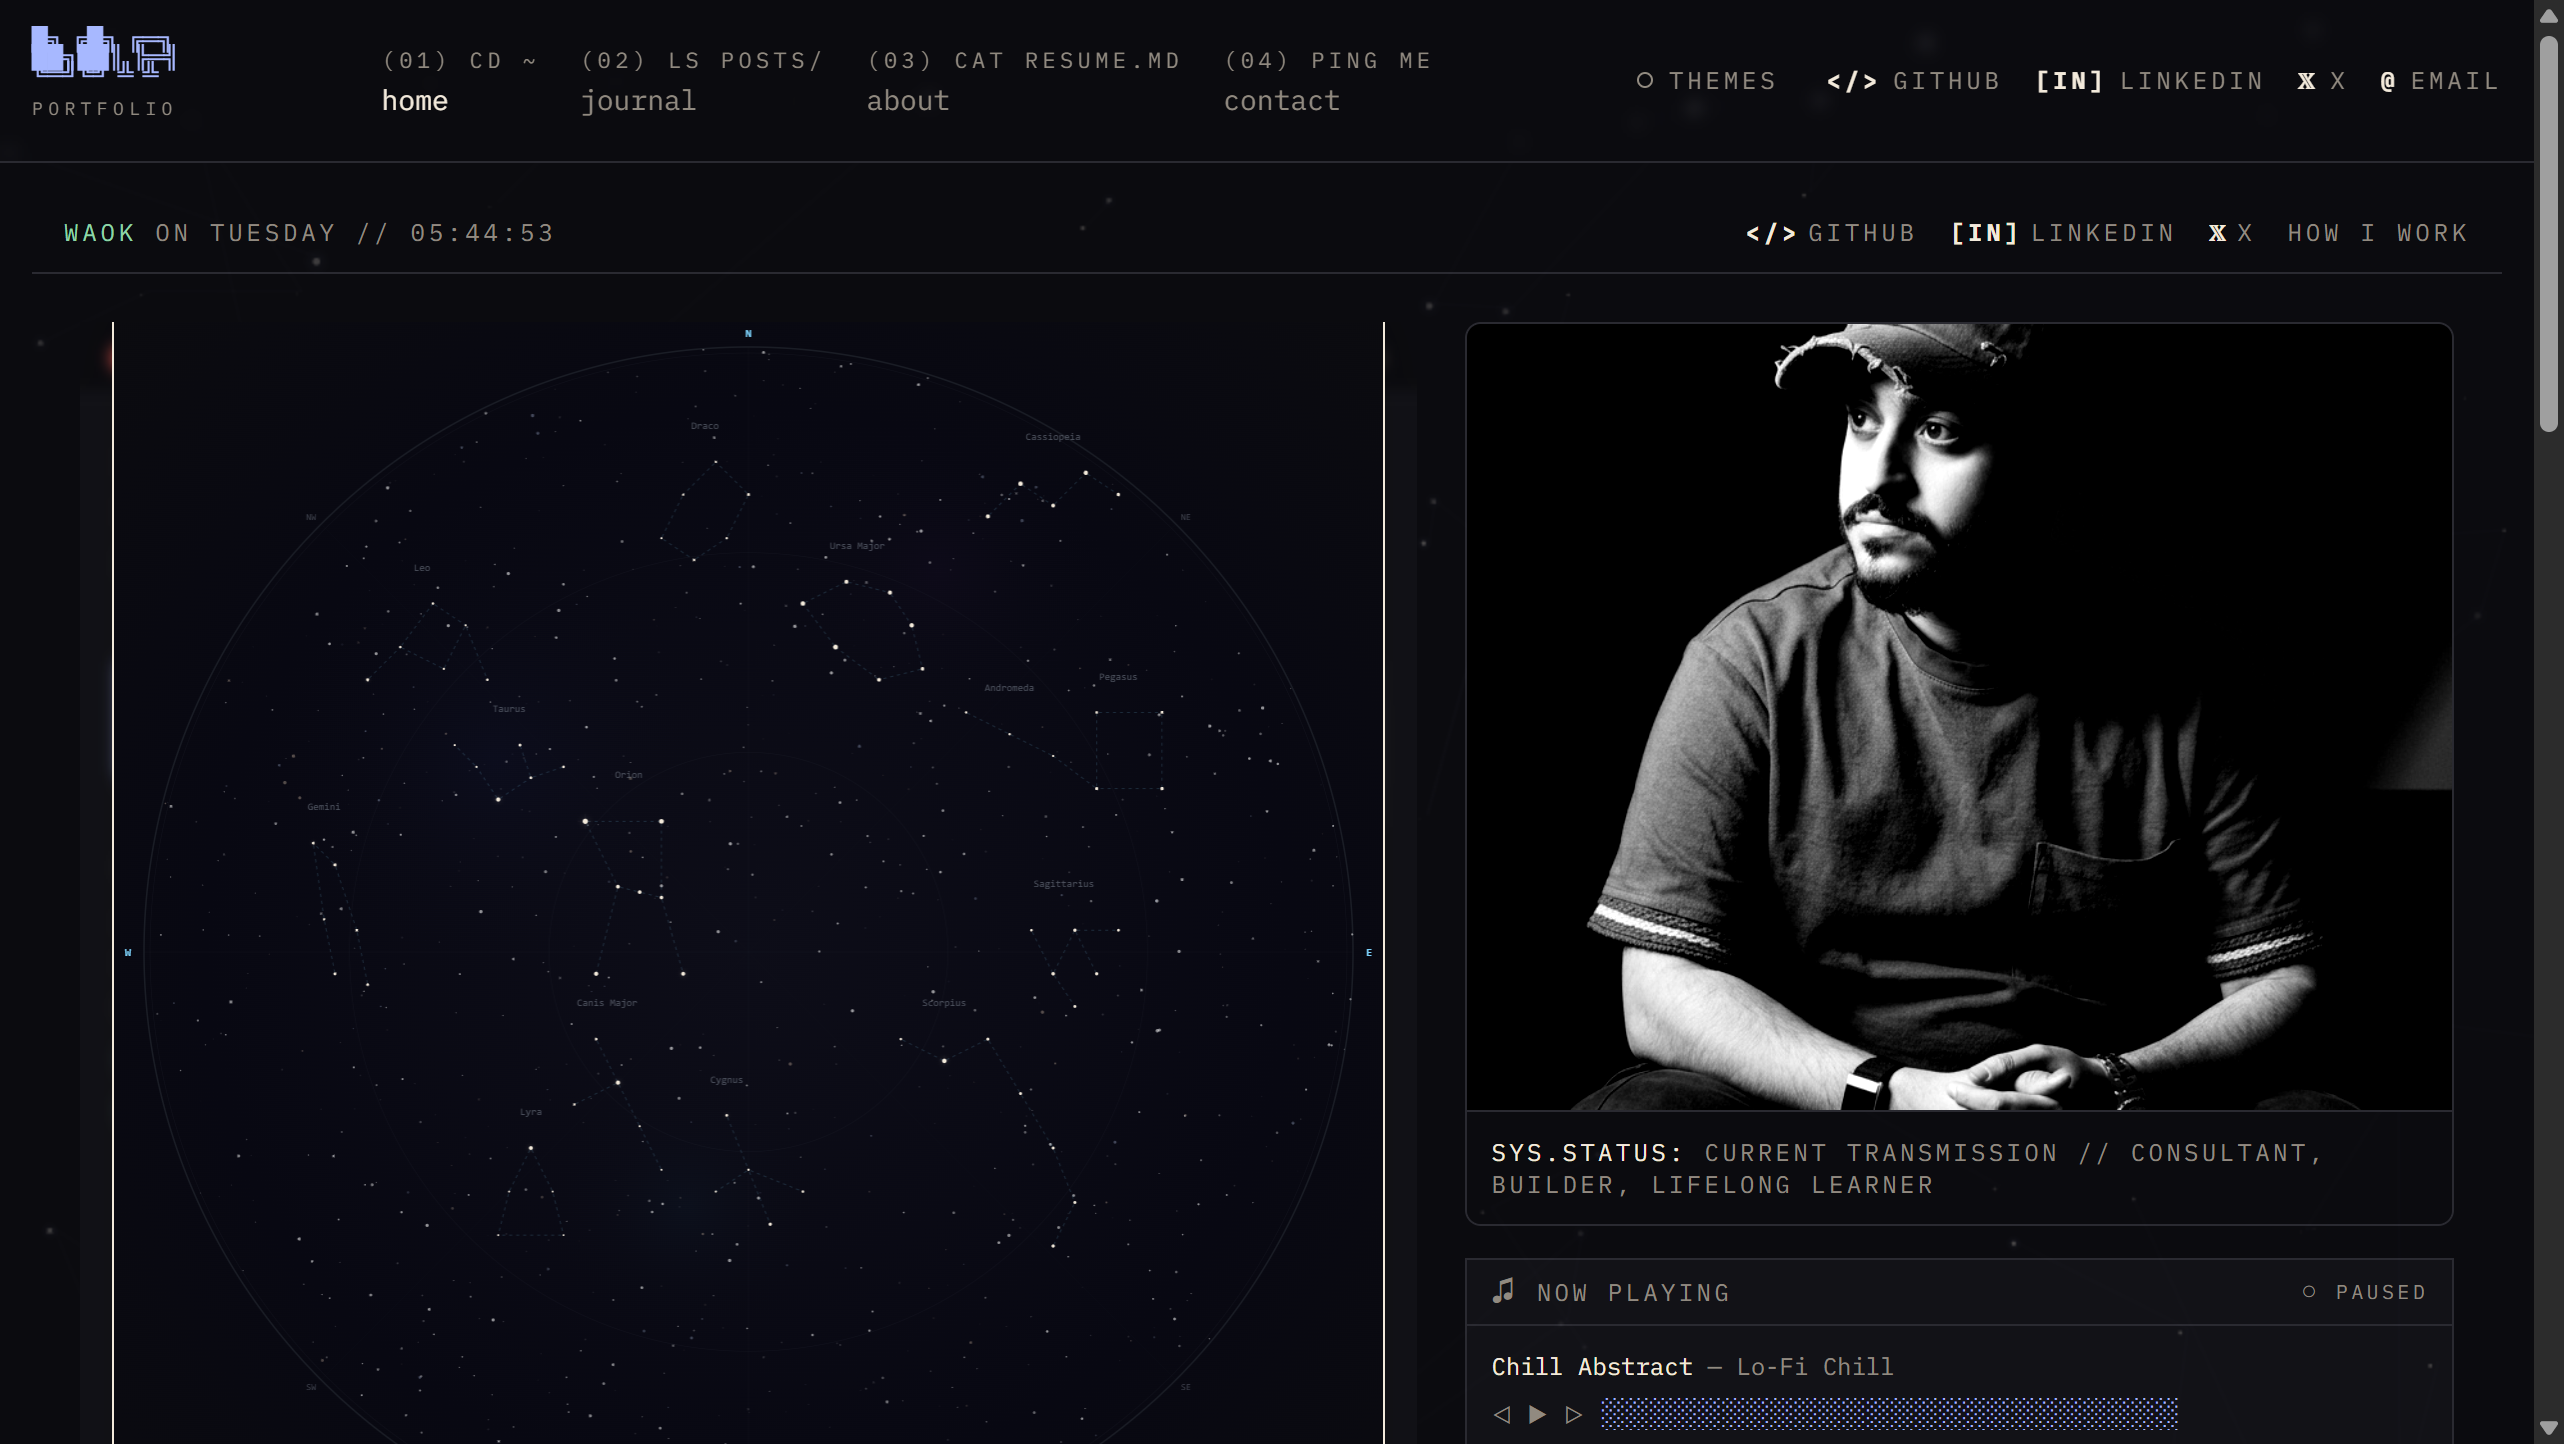
Interactive Star Map
Type stars to launch a live star map rendered from your city's coordinates. 14 constellations, 79 stars, twinkling simulation.
3 Reading Themes
Every blog post includes a reading controls panel — switch between Terminal, Sepia, and Light themes instantly. Adjust font size, spacing, and toggle focus mode.
Comments Powered by GitHub
Readers comment using their GitHub account via Giscus. No database, no moderation tools to learn — comments live in your repo's Discussions tab.
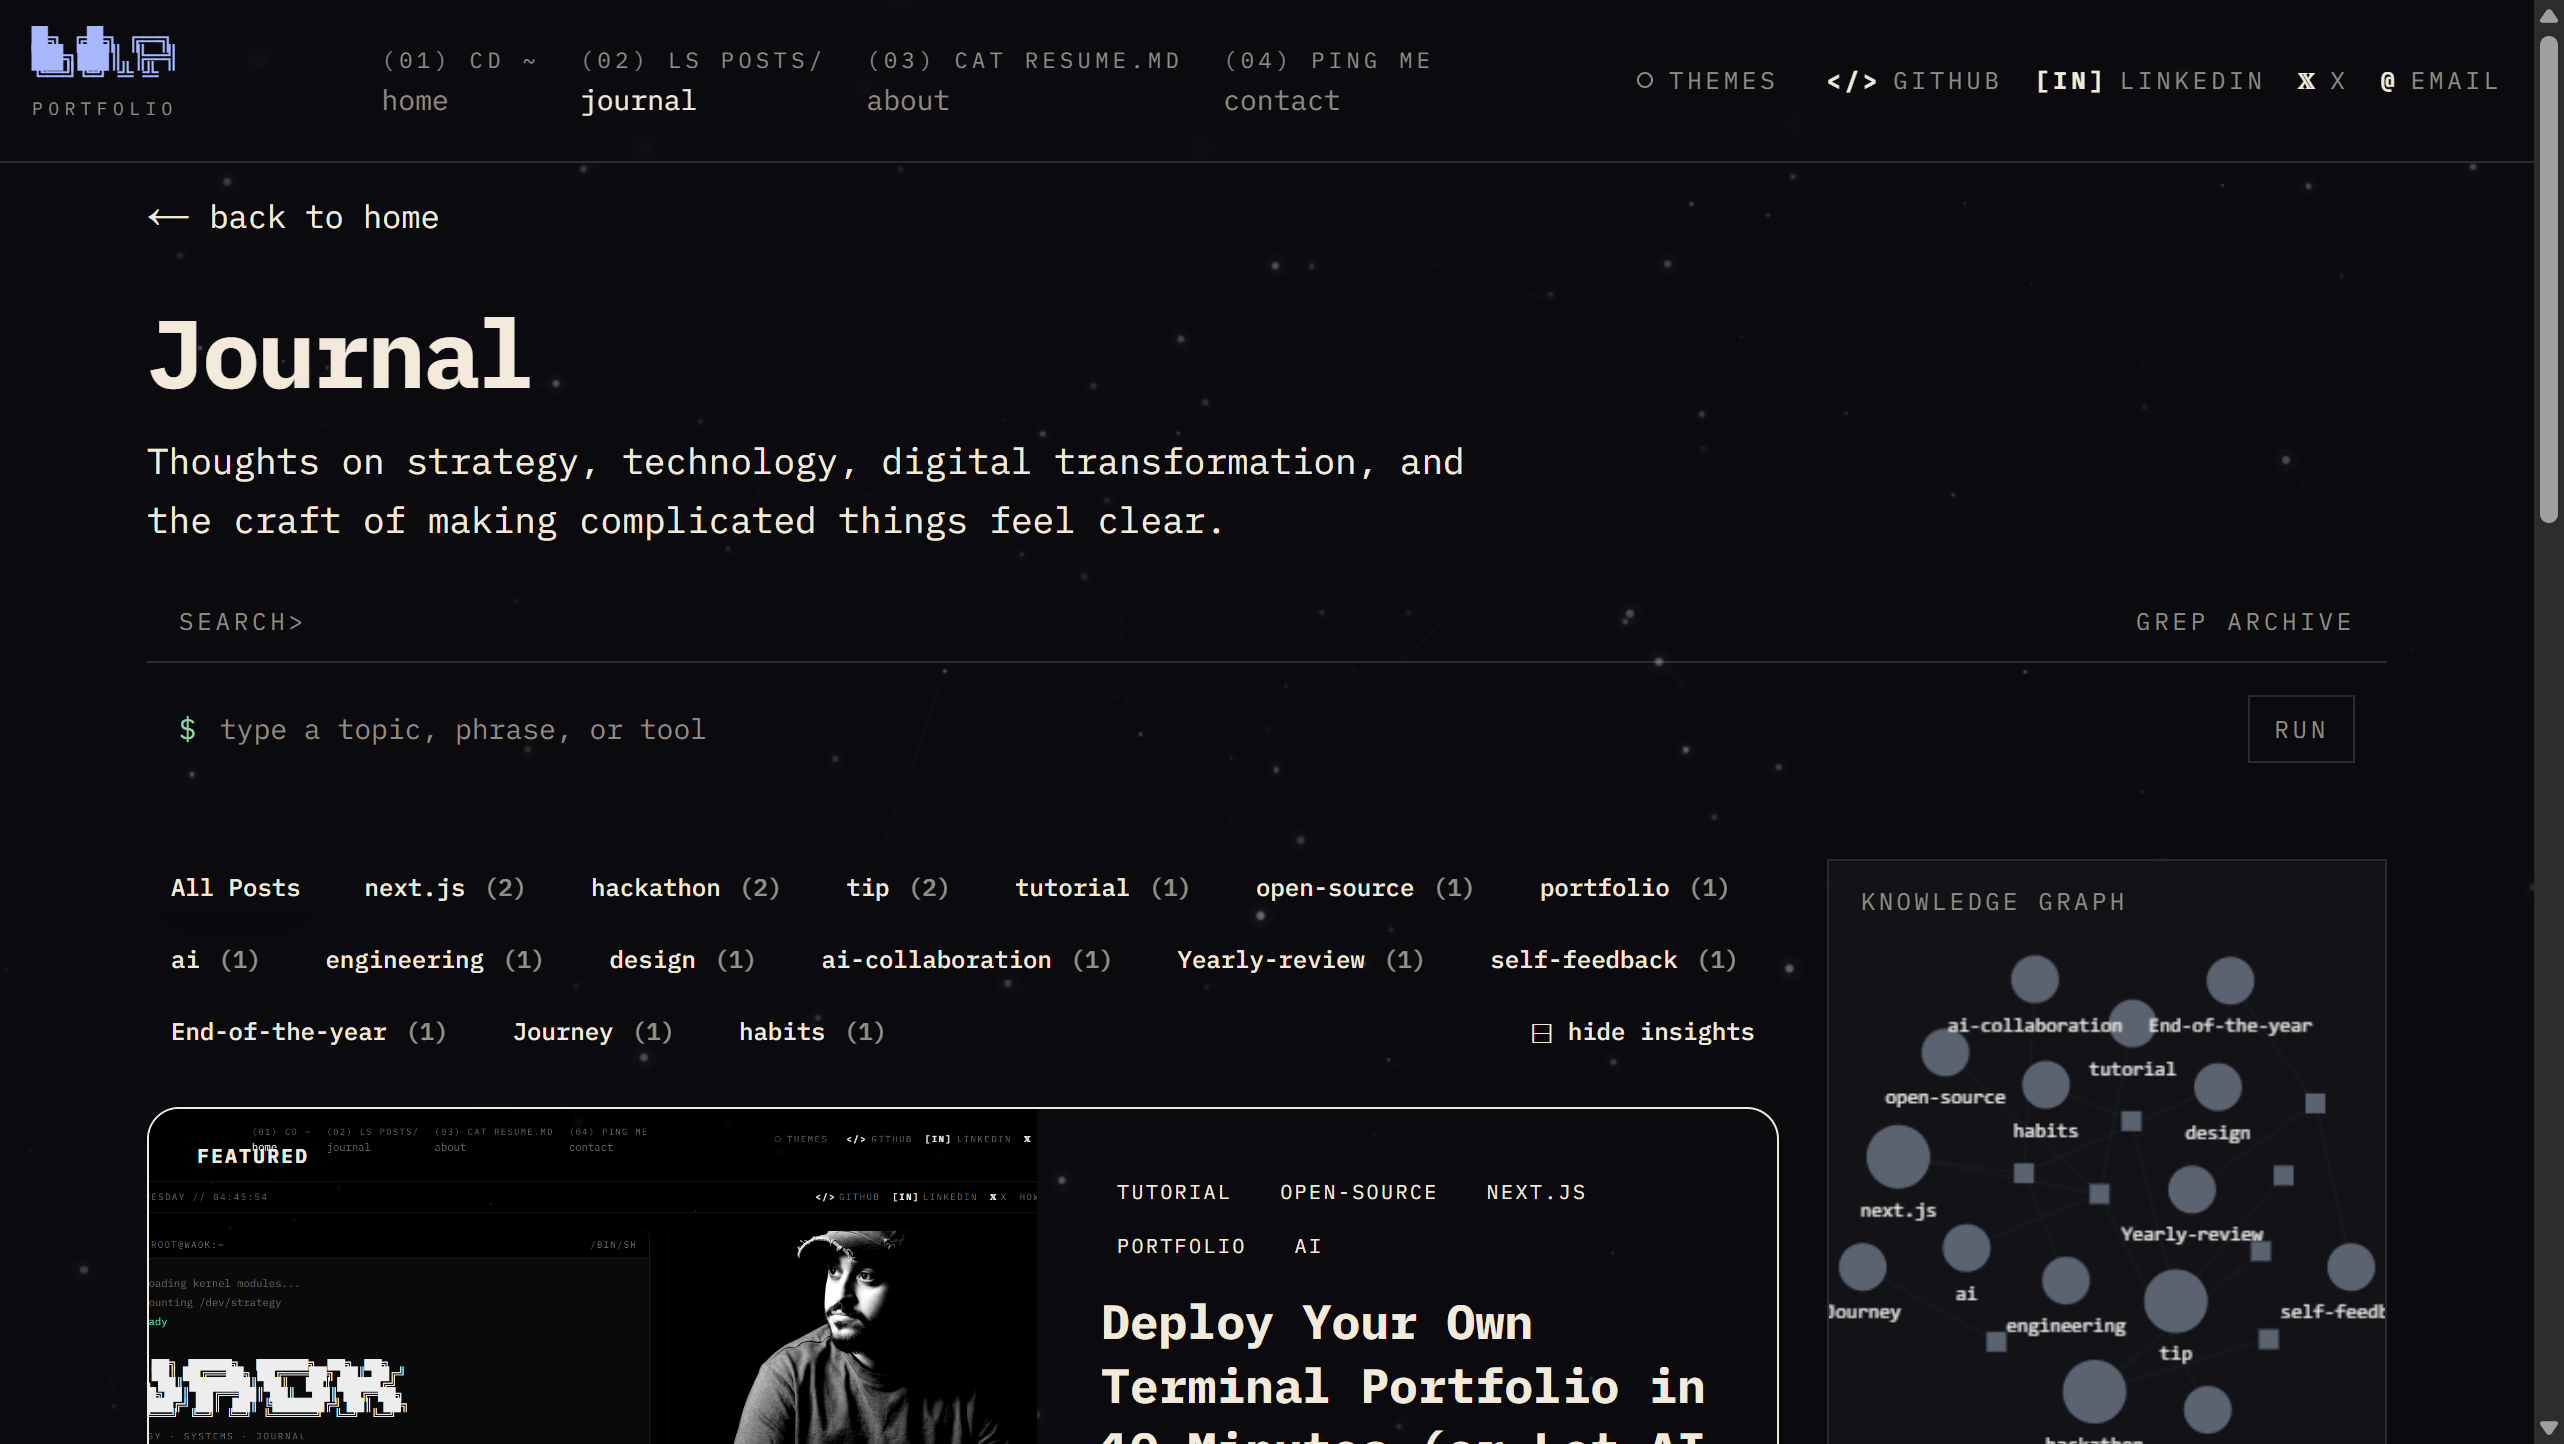
Journal with Search and Knowledge Graph
The blog page includes full-text search, tag filtering, and an interactive knowledge graph that maps connections between your posts.
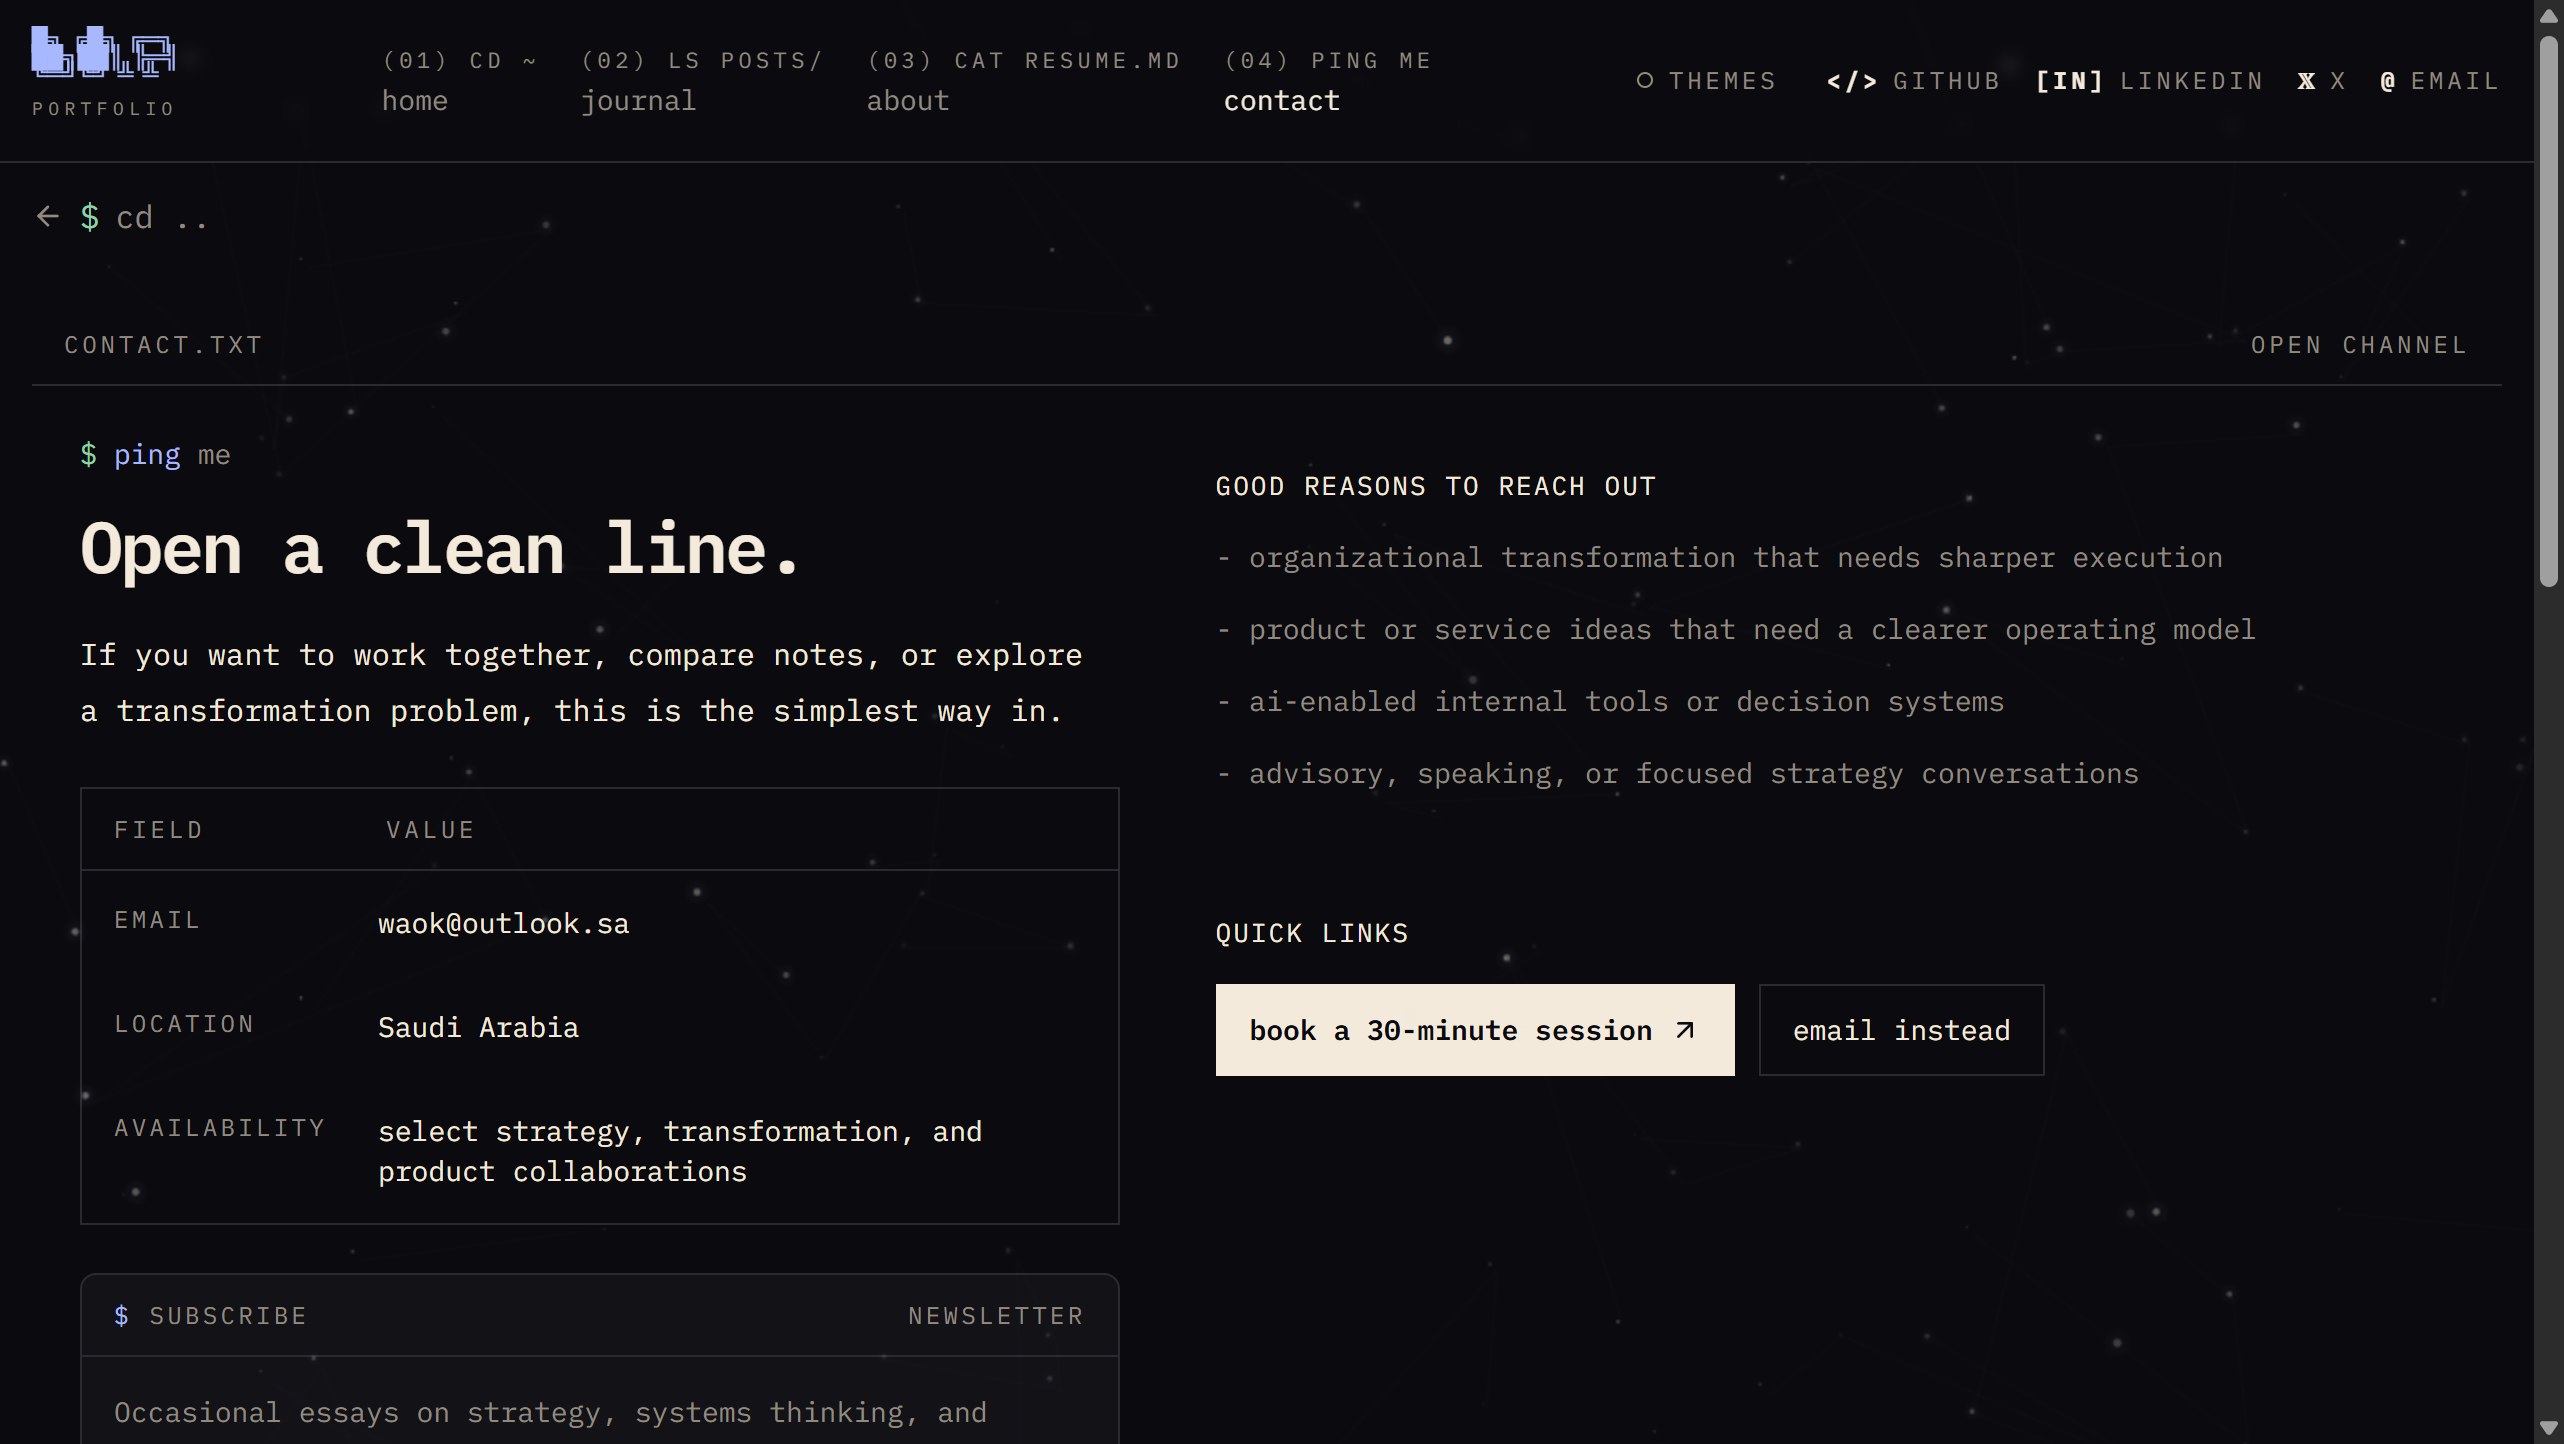
Contact Page with Newsletter
A clean contact page with Cal.com booking, email, and a newsletter signup powered by Resend. No third-party forms.
Path 1: Let AI Do It (3 Minutes)
This is the fastest way. You'll paste a prompt into Claude, ChatGPT, or any AI assistant. It reads your CV and generates the exact code changes you need.
Step 1: Fork and Deploy
- Go to the termfolio repo
- Click Fork (top right)
- Click the Deploy with Vercel button in the README
- Vercel asks for 3 environment variables:
- RESEND_API_KEY — Sign up at resend.com (free) → API Keys → Create → copy
- RESEND_AUDIENCE_ID — Audiences → Create Audience → copy the ID
- NOTIFY_SECRET — Any random string (e.g.,
my-super-secret-notify-key-2026)
- Click Deploy
Your site is now live with the demo content. Next, we replace it with yours.
Step 2: Clone Your Fork
git clone https://github.com/YOUR_USERNAME/termfolio.git
cd termfolio
Step 3: Give the AI Your CV
Open your AI assistant and paste the following prompt. Replace the CV section with your actual resume/CV (paste the text, or upload the PDF if your AI supports it):
Copy this entire prompt:
I just forked termfolio (https://github.com/wa1939/termfolio) — a terminal-themed
portfolio built with Next.js. I need you to customize it with my identity.

Here is my CV/resume:
---
[PASTE YOUR CV TEXT HERE, OR UPLOAD YOUR CV PDF]
---

Please do the following:

1. Read the file `content/site.ts` in the repo. This is the single config file
   that controls the entire site.

2. Generate a complete replacement `content/site.ts` with MY information:
   - name, title, headline, tagline, bio (write it in first person, professional
     but human — like a personal website, not a corporate bio)
   - email, location, social links (GitHub, LinkedIn, X/Twitter — ask me if
     you're not sure of the URLs)
   - experience array: extract my work history from the CV, write concise
     summaries for each role (2-3 sentences, focus on impact and what I built)
   - skills array: extract from my CV
   - certifications and credentials: extract from my CV
   - stats: pick 4 impressive numbers from my career
   - whoami: write a short "focus" and "status" that feel like terminal output
   - terminalSkills: format my top skills into 3 lines of terminal output
   - coordinates: use the lat/lon of my city
   - ASCII art: generate my first name or handle using block characters
     (use the ANSI Shadow font style)

3. Generate 1-2 starter blog posts in markdown format with frontmatter:
   - An "about me / hello world" post introducing myself
   - Use my voice and tone based on the CV

4. Tell me exactly which files to replace and what git commands to run to push
   the changes.

Important:
- Keep the same TypeScript structure and types as the original site.ts
- Don't remove any fields — fill them all in with my information
- For the `customizedBy` field, set it to my name and website/GitHub URL
- Keep `developedBy` pointing to the original repo
The AI will generate your complete content/site.ts, blog posts, and exact commands to push. It understands the codebase — it was built with AI.
Step 4: Push and You're Done
After the AI gives you the files:
# Replace content/site.ts with the AI-generated version
# Add your blog posts to content/posts/
# Then:
git add content/
git commit -m "feat: customize site with my identity"
git push
Vercel auto-deploys on push. Your site is live with your content.
Path 2: Manual Tutorial (10 Minutes)
Prefer to do it yourself? Here's every step with explanations.
Step 1: Fork the Repo
- Go to github.com/wa1939/termfolio
- Click Fork in the top right
- Keep the default settings and click Create fork
You now have your own copy at github.com/YOUR_USERNAME/termfolio.
Step 2: Deploy to Vercel
- Go to vercel.com and sign in with GitHub
- Click Add New Project
- Import your
termfoliofork - Vercel detects it's a Next.js project — leave the defaults
- Add the environment variables:
| Variable | Where to get it |
|---|---|
RESEND_API_KEY | resend.com → API Keys → Create |
RESEND_AUDIENCE_ID | resend.com → Audiences → Create → copy ID |
NOTIFY_SECRET | Type any long random string |
- Click Deploy
Your site is live in about 60 seconds. It shows the demo content — now let's make it yours.
Step 3: Clone Locally
git clone https://github.com/YOUR_USERNAME/termfolio.git
cd termfolio
npm install
Step 4: Edit content/site.ts
This is the only file you need to change. Open it and replace the values:
export const siteConfig = {
  // ── Your identity ──────────────────────────────────────────
  name: "Your Full Name",
  handle: "yourhandle",        // shows in terminal prompt and top bar
  title: "Your Professional Title",
  headline: "One sentence about what you do.",
  tagline: "word · word · word",  // appears below ASCII art
  description: "A brief description for SEO and social cards.",
  bio: [
    "First paragraph about yourself...",
    "Second paragraph...",
  ],

  // ── Contact ────────────────────────────────────────────────
  email: "you@example.com",
  location: "Your City",
  siteUrl: "https://yourdomain.com",  // or your Vercel URL
  twitterHandle: "@yourhandle",

  // ── Social links (appear in the nav bar) ───────────────────
  socials: {
    github: { url: "https://github.com/you", label: "GitHub", icon: "</>" },
    linkedin: { url: "https://linkedin.com/in/you", label: "LinkedIn", icon: "[in]" },
    x: { url: "https://x.com/you", label: "X", icon: "\u{1D54F}" },
  },

  // ── Location (powers star map + world map) ─────────────────
  coordinates: { lat: 40.7128, lon: -74.0060, label: "New York" },
  // Find yours: Google "YOUR CITY coordinates"

  // ── Terminal ───────────────────────────────────────────────
  terminalPrompt: "root@yourhandle:~",

  whoami: {
    focus: "what you specialize in",
    status: "what you're currently doing",
  },

  terminalSkills: [
    "skill1          // skill2          // skill3",
    "skill4          // skill5          // skill6",
    "skill7          // skill8          // skill9",
  ],

  // ── ASCII art ──────────────────────────────────────────────
  // Generate at: https://patorjk.com/software/taag/#p=display&f=ANSI%20Shadow
  // Paste each line as a string in the array
  asciiArt: {
    home: [
      "YOUR",
      "NAME",
      "HERE",
    ],
    about: [
      "YOUR",
      "NAME",
      "HERE",
    ],
  },
How to generate ASCII art:
- Go to patorjk.com/software/taag
- Type your name or handle
- Select the ANSI Shadow font
- Copy each line into the array as a string
How to find your coordinates:
- Google "New York coordinates" (replace with your city)
- Copy the latitude and longitude numbers
Step 5: Add Your Profile Photo
Replace public/profile.jpg with your own photo. Keep the same filename, or update avatar in site.ts.
Step 6: Replace Blog Posts
Delete the example posts in content/posts/ and create your own:
rm content/posts/*.md
Create your first post — content/posts/hello-world.md:
---
title: "Hello, World"
date: "2026-03-24"
excerpt: "Introducing my new terminal portfolio and blog."
tags: ["personal"]
status: "published"
language: "en"
---

Welcome to my corner of the internet.

I built this site using [termfolio](https://github.com/wa1939/termfolio) —
an open-source, terminal-themed portfolio. It boots like a terminal,
runs games, and lets me write posts in Obsidian.

More coming soon.
Step 7: Push and Deploy
git add content/ public/profile.jpg
git commit -m "feat: customize with my identity and first post"
git push
Vercel auto-deploys. Your site is live with your content.
Optional: Set Up Comments (2 Minutes)
Comments use Giscus — powered by GitHub Discussions. Readers comment with their GitHub account. You moderate from the Discussions tab.
- Go to your forked repo on GitHub
- Click Settings → scroll to Features → check Discussions
- Go to giscus.app
- Enter your repo:
your-username/termfolio - Choose mapping: pathname
- Choose category: Announcements
- Copy the 4 values from the generated config
- Add them to your Vercel project:
- Go to your Vercel dashboard → your project → Settings → Environment Variables
- Add:
NEXT_PUBLIC_GISCUS_REPO=your-username/termfolio
NEXT_PUBLIC_GISCUS_REPO_ID=R_xxxxxxxxxx
NEXT_PUBLIC_GISCUS_CATEGORY=Announcements
NEXT_PUBLIC_GISCUS_CATEGORY_ID=DIC_xxxxxxxxxx
- Redeploy (push any commit or click "Redeploy" in Vercel)
Comments now appear at the bottom of every blog post.
Optional: Connect Obsidian (5 Minutes)
If you write in Obsidian, you can make your blog update automatically when you save a note.
Option A: Symlink (Local Dev)
Point content/posts/ at your Obsidian vault folder:
# Delete the existing posts folder first
rm -rf content/posts

# macOS/Linux
ln -s ~/my-obsidian-vault/published content/posts

# Windows (PowerShell as Admin)
New-Item -ItemType SymbolicLink -Path content\posts -Target C:\Users\you\vault\published
Now when you save a note in Obsidian's published folder, it appears on your site.
Option B: GitHub Action (Automated)
The repo includes a workflow at .github/workflows/sync-obsidian.yml that syncs posts from a separate vault repo.
- Push your Obsidian vault to a private GitHub repo
- Create a Personal Access Token with
reposcope - In your termfolio repo → Settings → Secrets → Actions, add:
VAULT_REPO=your-username/obsidian-vaultVAULT_PAT= your PATVAULT_PATH=published(or your folder name)
The workflow runs daily, or you can trigger it manually from the Actions tab.
For instant sync on every vault push, add this workflow to your vault repo:
name: Trigger site sync
on:
  push:
    paths: ['published/**']
jobs:
  sync:
    runs-on: ubuntu-latest
    steps:
      - run: |
          curl -X POST \
            -H "Accept: application/vnd.github.v3+json" \
            -H "Authorization: token ${{ secrets.SITE_REPO_PAT }}" \
            https://api.github.com/repos/YOUR_USERNAME/termfolio/dispatches \
            -d '{"event_type":"sync-obsidian"}'
Obsidian Template
Save this as a template in Obsidian for new posts:
---
title: "{{title}}"
date: "{{date:YYYY-MM-DD}}"
excerpt: ""
tags: []
status: "draft"
language: "en"
---
Change status to "published" when you're ready to go live.
Optional: Custom Domain
- Buy a domain (Namecheap, Cloudflare, Google Domains — anywhere)
- In Vercel → your project → Settings → Domains → add your domain
- Vercel gives you DNS records to add at your registrar
- Update
siteUrlincontent/site.tsto your new domain - Push
SSL is automatic. Your site is live at yourdomain.com.
Optional: Newsletter Notifications
The newsletter is already working from the deploy step. When someone subscribes on your site, they're added to your Resend audience.
To notify all subscribers when you publish a new post:
curl -X POST https://yourdomain.com/api/notify \
  -H "Content-Type: application/json" \
  -H "x-notify-secret: YOUR_NOTIFY_SECRET" \
  -d '{"slug": "hello-world", "title": "Hello, World", "excerpt": "My first post."}'
Replace YOUR_NOTIFY_SECRET with the value you set during deploy.
The AI Prompt (Full Version)
If you chose Path 1 but want more control, here's an extended prompt you can customize:
I forked termfolio (https://github.com/wa1939/termfolio). Here's my CV:

[PASTE YOUR CV / RESUME TEXT]

And here are my preferences:

- Tone: [professional / casual / technical / creative]
- Handle for terminal prompt: [e.g., "alex", "dev", "root"]
- City for star map: [e.g., "San Francisco"]
- Social links:
  - GitHub: [URL]
  - LinkedIn: [URL]
  - X/Twitter: [URL or "none"]
- Cal.com URL: [URL or "none"]
- Spotify profile: [URL or "none"]

Please generate:

1. A complete `content/site.ts` file with all fields filled in from my CV.
   - Write the bio in first person, 2 paragraphs, professional but human
   - Extract all work experience with concise impact-focused summaries
   - Generate ASCII art for my first name using ANSI Shadow block characters
   - Format 3 lines of terminalSkills from my top skills
   - Pick 4 impressive career stats

2. Three starter blog posts as `.md` files with frontmatter:
   - "Hello, World" — introducing myself and my new site
   - A post about my most interesting project from the CV
   - A post about a lesson learned in my career

3. The exact git commands to commit and push everything.

Keep the TypeScript structure identical to the original. Don't remove any fields.
Set `customizedBy` to my name and GitHub URL.
Troubleshooting
Build fails after editing site.ts:
- Make sure you didn't break the TypeScript syntax — check for missing commas, unclosed strings, or mismatched brackets
- Run
npm run checklocally to see the exact error
Comments not showing:
- Make sure Discussions are enabled on your repo (Settings → Features → Discussions)
- Double-check the 4 Giscus env variables — they're case-sensitive
- Redeploy after adding env variables
Posts not appearing:
- Check
status: "published"in the frontmatter (not"draft") - Make sure the date format is
YYYY-MM-DD - File must end in
.md
Obsidian sync not working:
- Check that your vault repo secrets are correct
- Look at the Actions tab for error logs
- Make sure the
VAULT_PATHmatches your folder name exactly
Optional: Digital Business Card (2 Minutes)
termfolio includes a shareable digital business card at /card. Visitors can save your contact info with one tap, scan a QR code, or message you on WhatsApp — all driven by a single YAML file.
How It Works
Your card data lives in content/card.md. Edit it in Obsidian or any text editor — no code changes needed:
---
name: "Your Name"
title: "Your Title"
company: "Your Company"
location: "Your City"
avatar: "/profile.jpg"
bio: "A short bio about what you do."

links:
  - label: "GitHub"
    url: "https://github.com/you"
    icon: "github"
  - label: "Portfolio"
    url: "https://yoursite.com"
    icon: "website"

contacts:
  - type: email
    label: "Work"
    value: "you@company.com"
  - type: phone
    label: "Mobile"
    value: "+1234567890"
  - type: whatsapp
    label: "WhatsApp"
    value: "+1234567890"
---
Add 3 lines to add a link or contact. Delete 3 lines to remove one. The page updates automatically.
What Visitors See
- Links section — Your profiles and websites (GitHub, X, LinkedIn, portfolio, company)
- Contacts section — Direct contact methods (email, phone, WhatsApp)
- Save Contact button — Downloads a
.vcffile that works on iOS, Android, and desktop - Share button — Uses native share on mobile, copies URL on desktop
- QR Code — Toggle an inline QR code visitors can scan
Optional: Apple Wallet Pass
You can generate an Apple Wallet pass that contains a QR code linking to your /card page. When you meet someone, show the pass from your wallet — they scan — your card opens.
- Get a free API key from walletwallet.dev
- Add
WALLETWALLET_API_KEYto your Vercel environment variables - Visit
yourdomain.com/api/card/wallet— it downloads a.pkpassfile - Open it on your iPhone to add to Apple Wallet
This is optional — the card page works without it.
What's Next?
Once your site is live:
- Write your first real post. The best portfolio is one that shows you think. Write about a project, a lesson, an opinion.
- Share the URL. Put it in your GitHub bio, LinkedIn, email signature, Twitter/X.
- Star the repo. If termfolio helped you ship your site, give it a star — it helps others find it.
This tutorial was written by Claude (Anthropic) and reviewed by Waleed Alhamed. The AI prompt in this guide was tested and verified to produce working results with Claude, ChatGPT, and Gemini.